

Tip: If you want to install a zipper, reference those directions and start here.
Version 1
Attach Center Front Facing
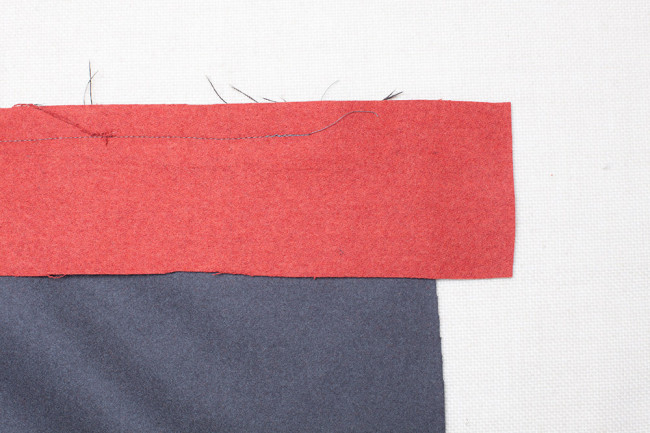
1. With right sides together, align center front facing (E) with front lining (O). The large circle on the center front facing (E) will be a few inches above the hem of the front lining (O). The facing will extend past the lining by 1 1/4″. Stitch the front lining to the facing at the front edge, stopping at the large circle.
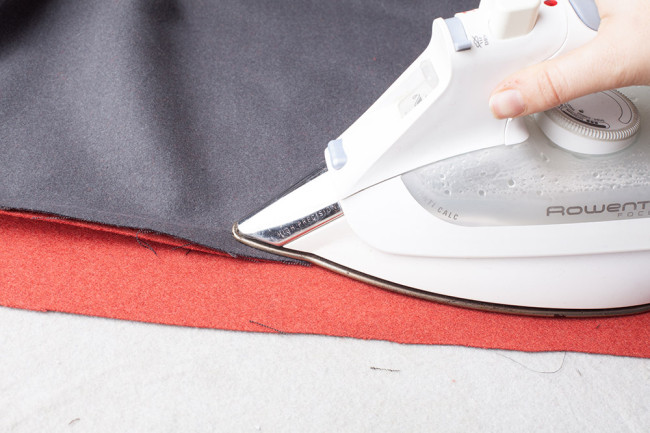
2. Press the seam toward the facing. The front lining and the facing will now be sewn into the coat shell as one unit.
Version 2
Attach Center Front Facing
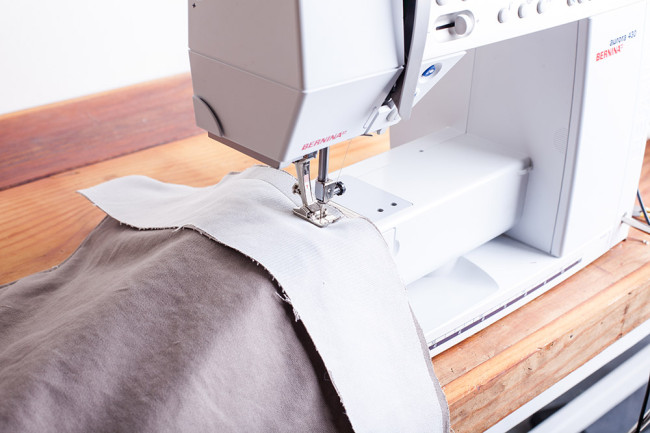
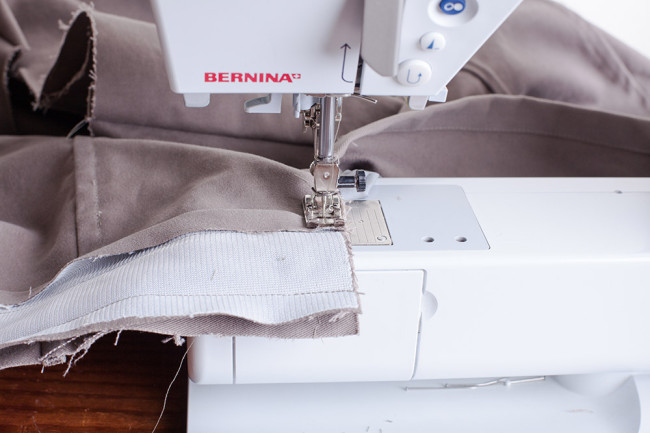
1. With right sides together, stitch center front facing (E) to the jacket.
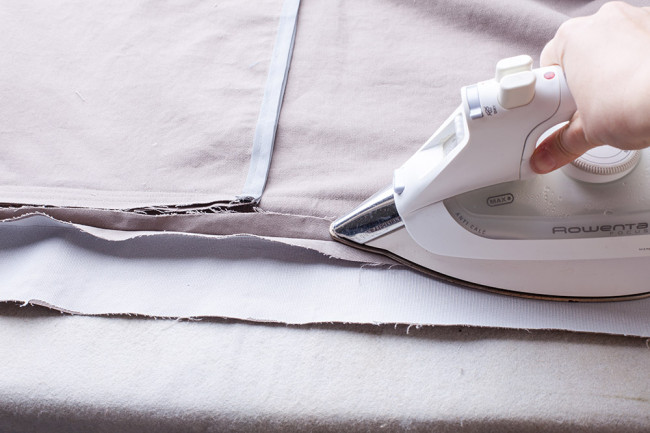
2. Press seam open, pressing the center front facing (E) away from the jacket.

3. Turn the long raw edge of center front facing (E) under 5/8″ and press.
4. Turn the facing back in. With right sides together, stitch the center front facing (E) to the jacket at the neckline, using a 3/8″ seam allowance. The fold of the facing should stop right where the hood begins on the neckline. If not, adjust the fold to fit the neckline.
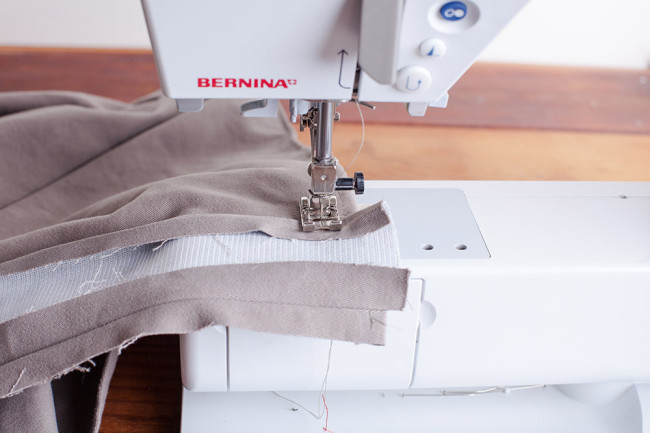
5. Stitch the facing to the jacket at the hem, using a 1″ seam allowance.
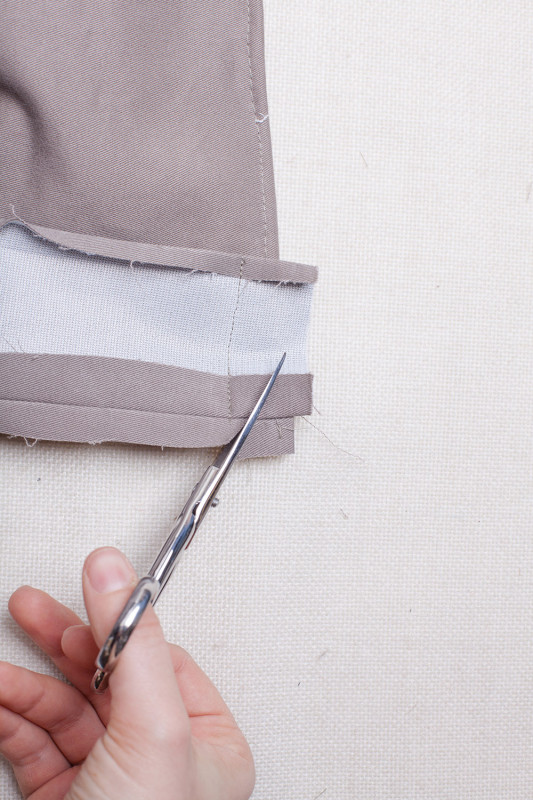
6. Clip this corner to reduce bulk. Turn the facing to the inside and press.
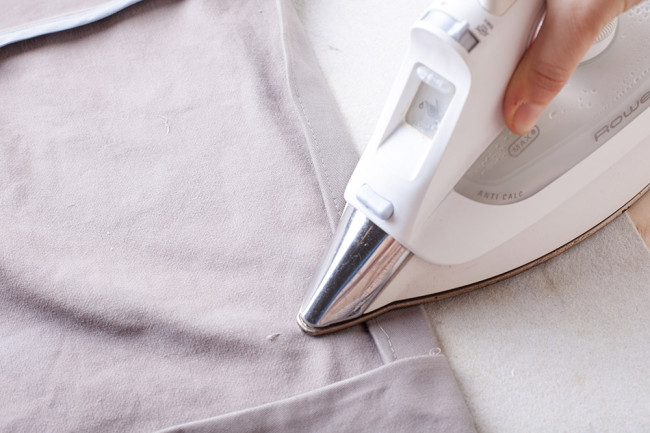
7. Turn the hem up 1″. Press.
8. Stitch the hem in place, making sure the bottom edge of in-seam pocket (I) is secured in the hem.

9. Topstitch 1/4″ around all edges of the center front facing (E). Be sure to catch the edge of in-seam pocket (I) and the ends of the bias tape to secure it in place. Repeat for the second front facing.
Tip: If you want to install a waist drawstring reference those directions and start here.
Comments
Me again….
Version 1 pattern says to cut 2 front facings (E) yet from what I can see from the pics and reading ahead, I only see one being used. Are they doubled up when joining to the front lining?
Thanks! (again)
Matt
Hi Matt! You need to install a facing on each side of the jacket (left and right front). So you install on one side, then do the same at on the other side.
Hope I interpreted your questions correctly and that helps. :)
Hi Sarai!
I’m working on Version 1 of the Albion jacket right now for Robert Kaufman’s LA Textile Booth and I had the same question. You might want to add a note to the pattern to repeat for the other side as that in unclear from both the visual and written directions. Thanks!!
Thanks, will do!