

Version 1
Create Back Yoke

1. With wrong sides together, baste one back yoke (D) to the second back yoke (D) at the shoulders and sides. This creates a sturdy, underlined back yoke (D) unit.
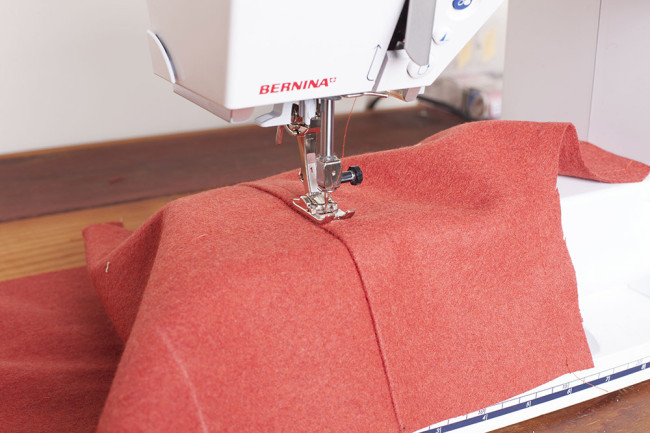
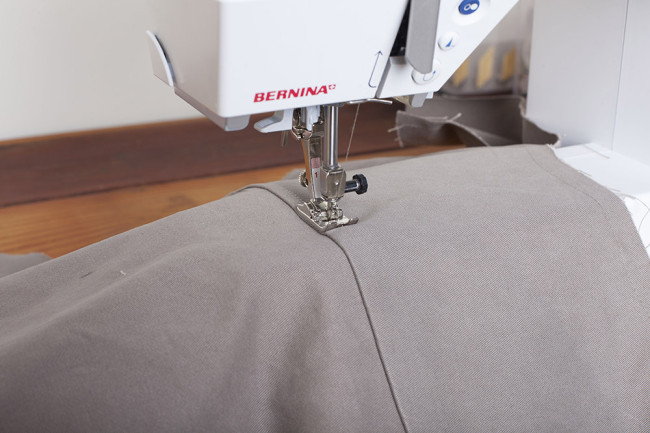
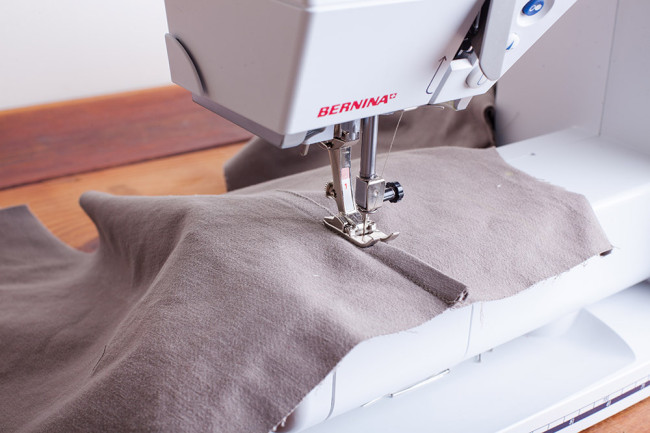
2. With right sides together, stitch back body (C) to back yoke (D) unit, matching notches.
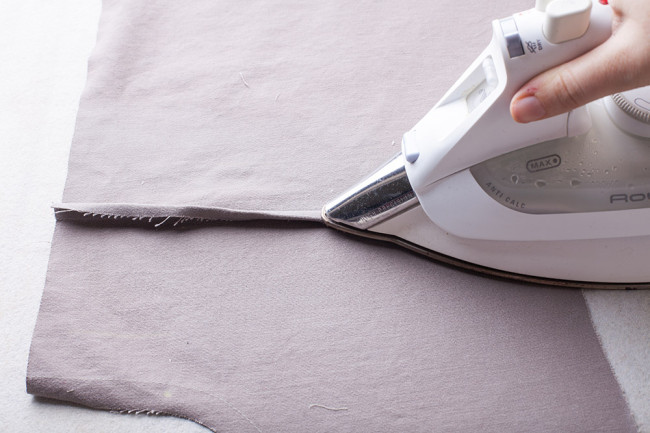
3. Press seam toward the back yoke (D).
4. On the right side, topstitch the yoke 1/4” from the seam line.
Attach Front Yokes
1. With right sides together and notches aligned, stitch front yoke (A) to front body (B).
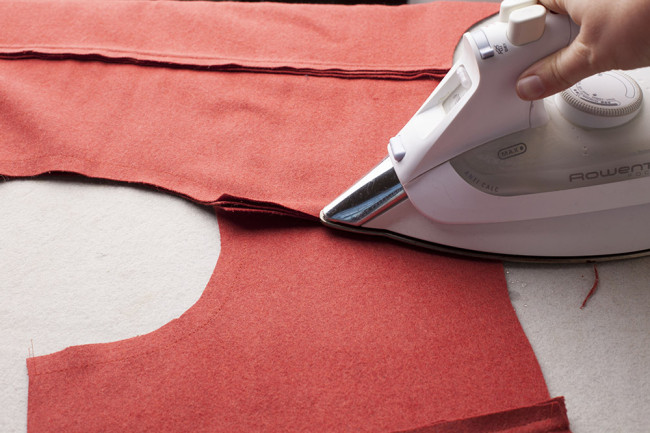
2. Press seam toward the front yoke (A).
3. On the right side, topstitch the yoke 1/4″ from the seam line.
4. Repeat for the second set of yoke and body pieces.
Sew Shoulder Seams
1. With right sides together, stitch the back yoke (D) to the front yoke (A) at
the shoulders.
2. Press seam toward the front.
3. On the right side, topstitch the shoulder seam 1/4” from the seam line.
Version 2
Create Yoke
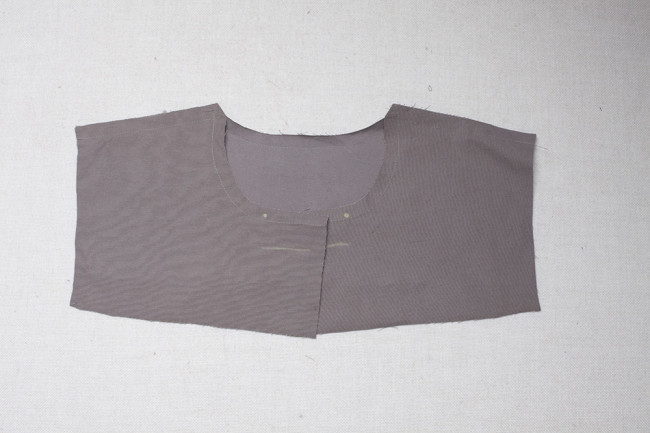
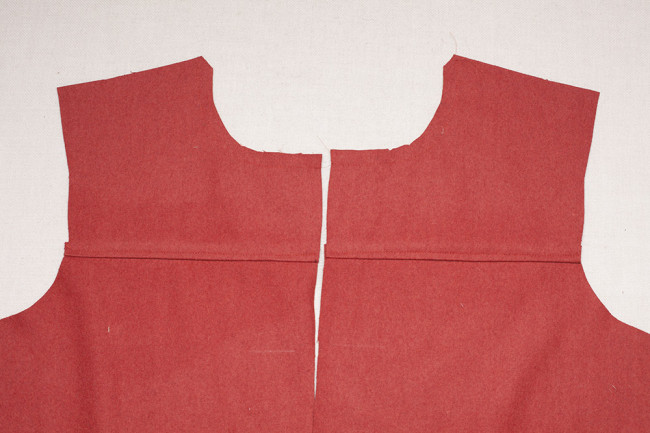
1. With right sides together, stitch one back yoke (D) piece to the front yoke (A) pieces at the shoulders.
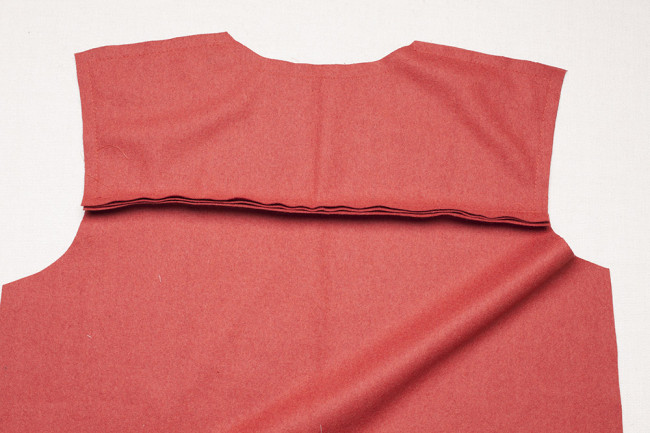
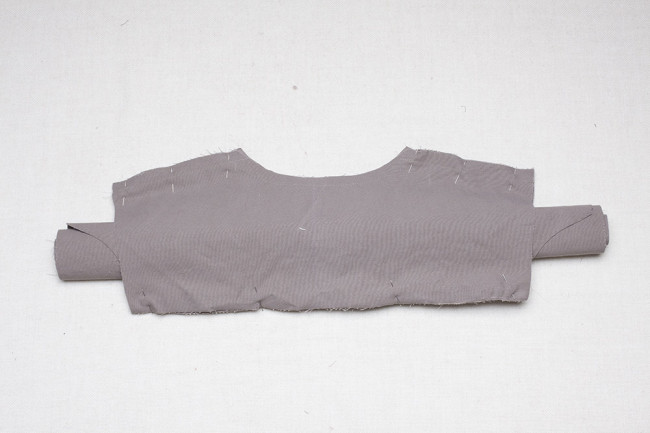
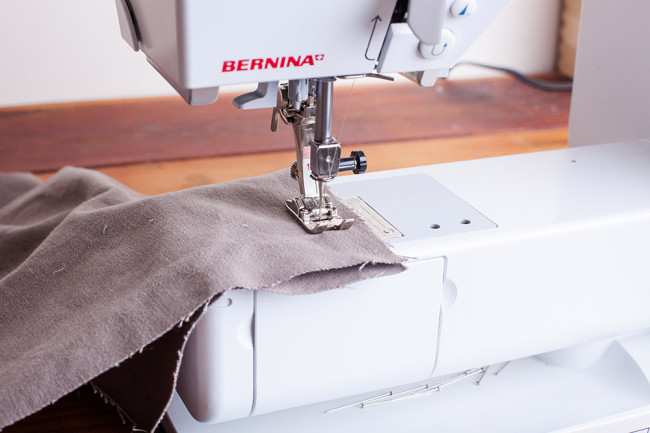
2. Place the right side of the other back yoke (D) piece facing the wrong side of back body (C). Match notches and stitch together at the yoke seam. Do not press this seam yet.
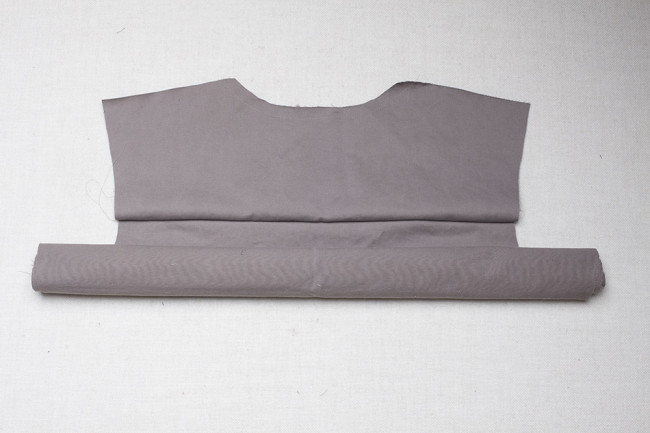
3. Roll the back body (C) piece up toward the yoke seam to keep it out of the way, as shown.
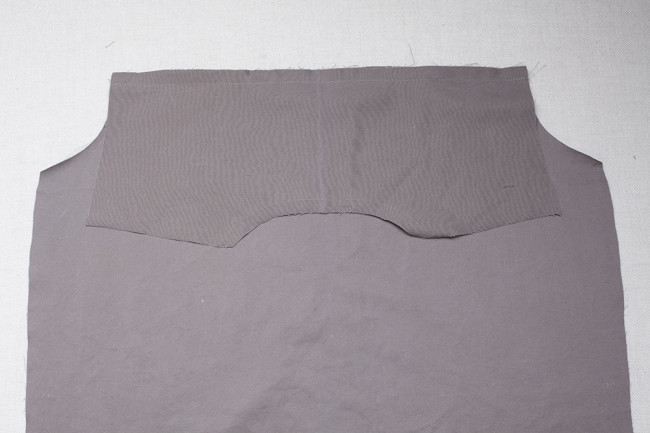
4. With right sides together, place the other back yoke (D) directly on top of this back yoke (D), matching all edges.
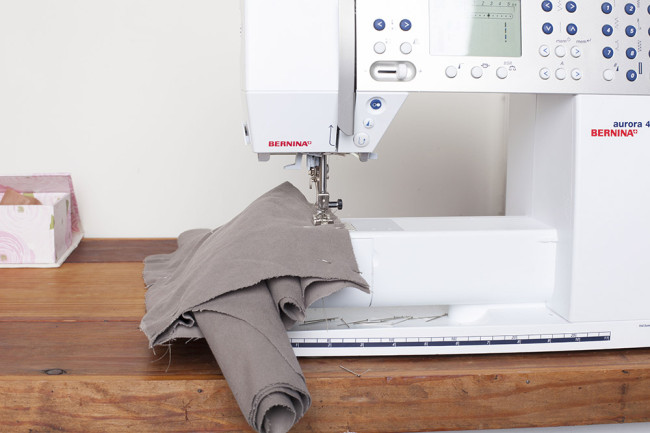
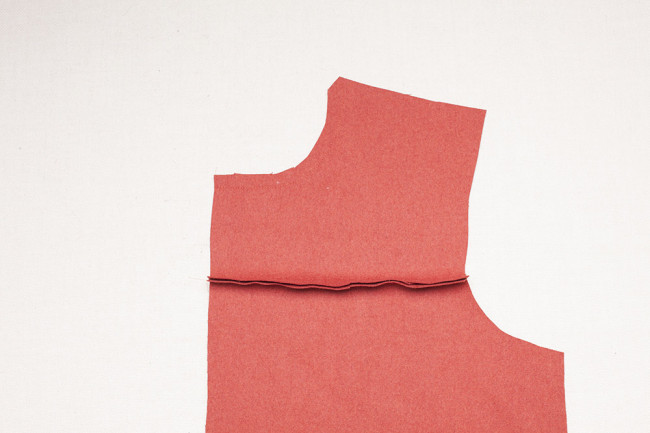
5. Stitch the two back yoke (D) pieces together at the yoke seam and at the shoulders. The front yokes and the back body (C) should all be neatly rolled inside between these two pieces.
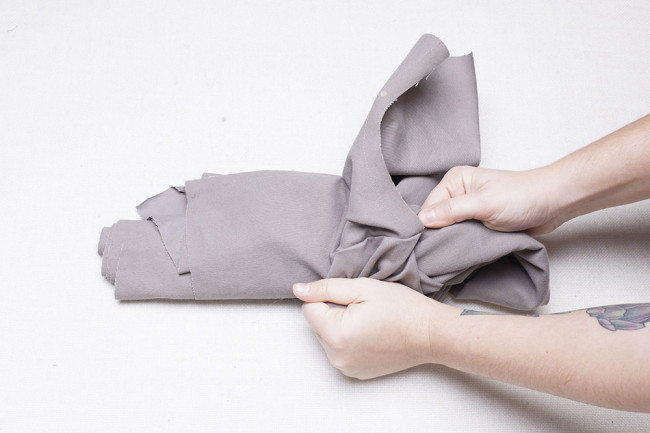
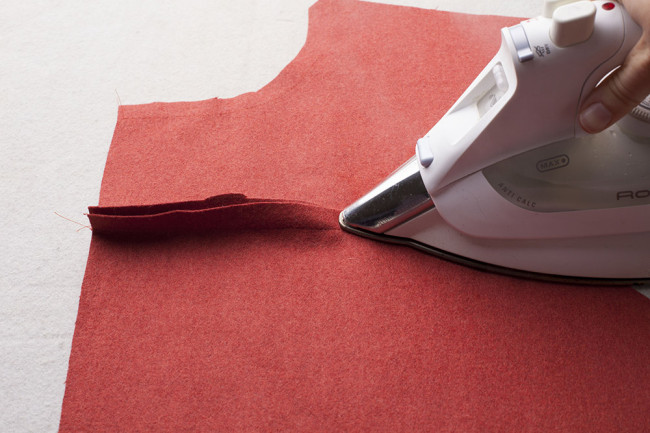
6. Reach through the middle to turn the piece right side out. Press. The back yoke now has a clean finish with the yoke and shoulder seams tucked inside.
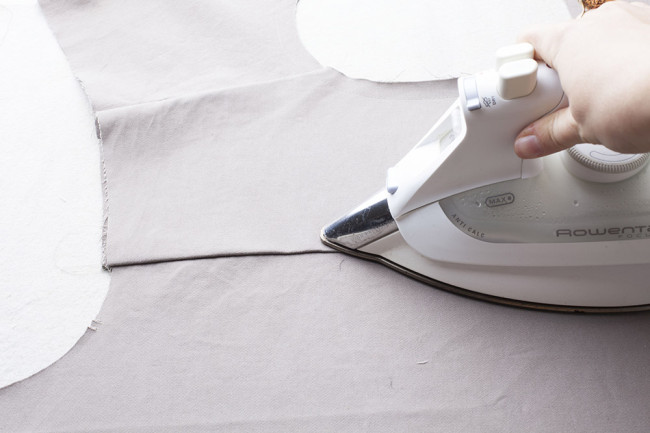
7. Press the yoke.
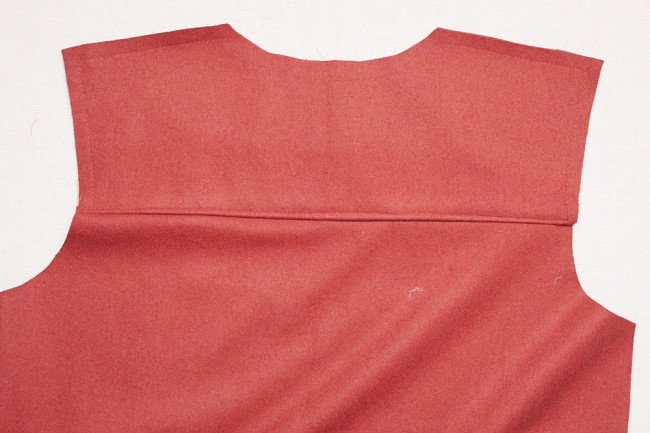
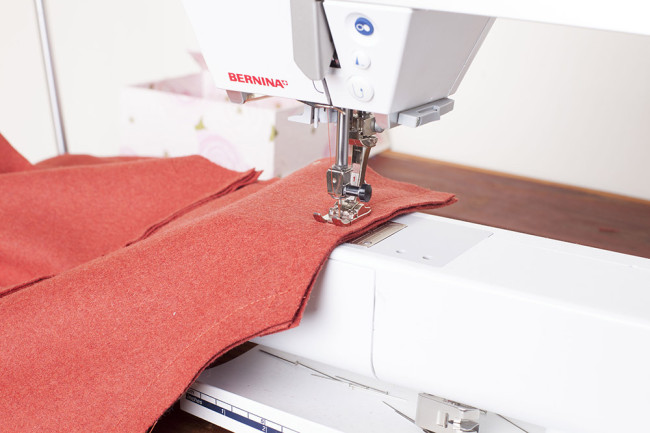
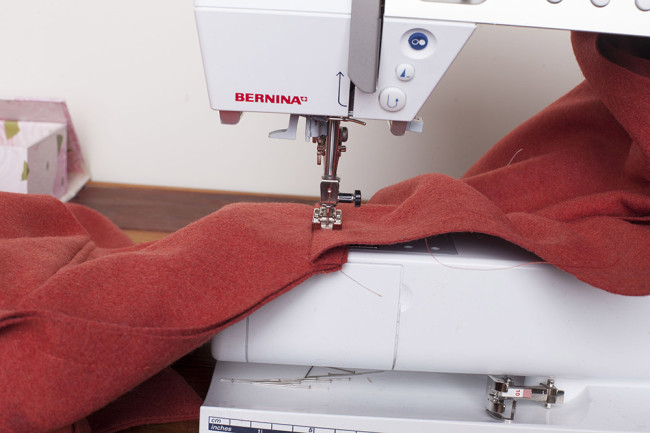
8. Topstitch 1/4″ from the seam line on the back yoke.
Attach Front Yokes
1. With right sides together and notches aligned, stitch front yoke (A) to front body (B). Press seam toward the front yoke (A).
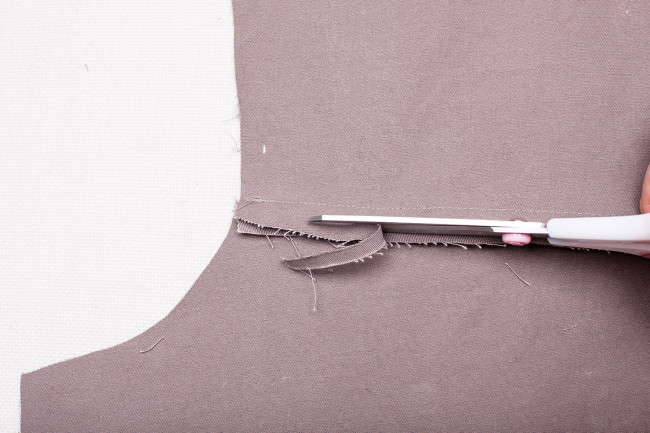
2. Finish with a flat-felled seam. To do this, trim one of the seam allowances to 1/4”.
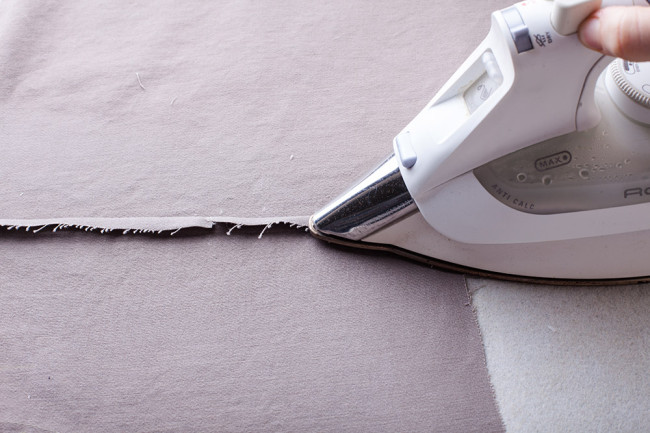
3. Fold the longer side of the seam allowance over the trimmed side so that it aligns with the stitching. Press.
4. Fold the whole seam over and press to the back.
5. Edgestitch in place. Repeat for the second set of yoke and body pieces.
Comments
Important question: I am using a piece of handmade wool felt that has different colors felted into it on the right side. I NEED to cut the pieces out with the pattern pieces on the right side of the fabric in order to really be sure about how color is going to end up – in what way on the coat. Do I just turn the pattern pieces over facing the right side of fabric? In other words, the fabric is folded with wrong sides together and instead of placing the pattern pieces with markings up I would turn the pattern pieces with the markings facing down – facing the right side of fabric and then cut? This is a real brain twister for me. I cannot proceed until I figure this out because I have NO extra felt at all!!!! Hope to hear from you soon. Thank you!