

Install Lining
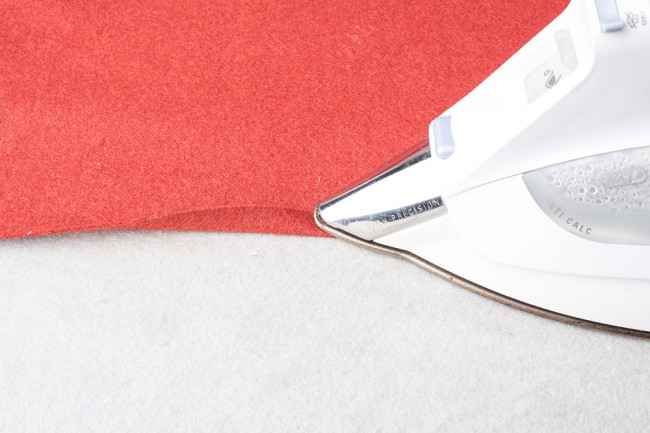
1. Turn the lower edge of the coat shell under 1/4″ and press to form a temporary narrow hem.
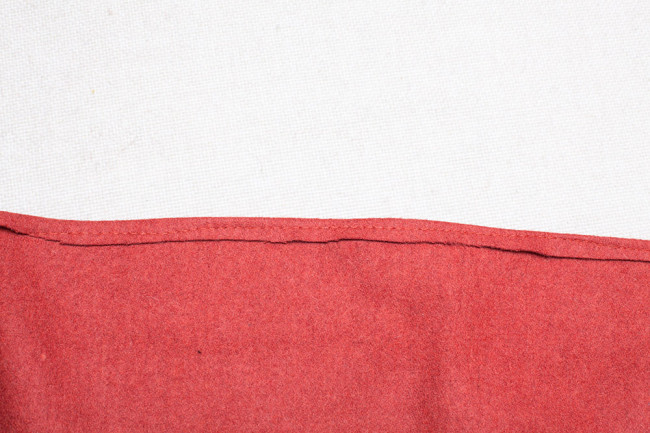
2. Baste in place.
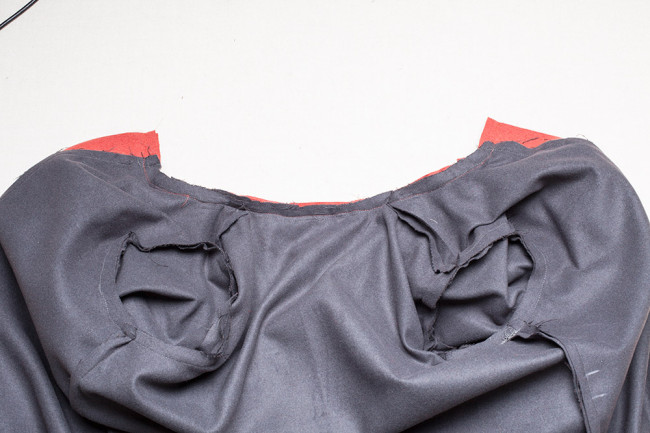
3. With right sides together, stitch the body lining to the coat at the neckline using a 3/8″ seam allowance. The hood will be sandwiched between the coat and the body lining.
4. Stitch the center front facing (E) to the shell down the front edge.
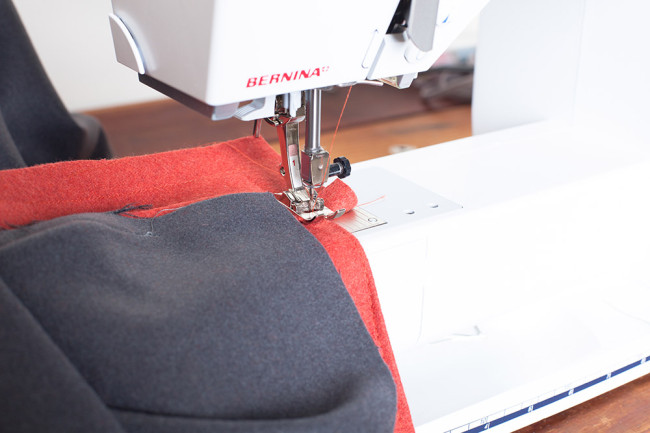
5. When you reach 1″ from the bottom pivot and stitch across the facing.
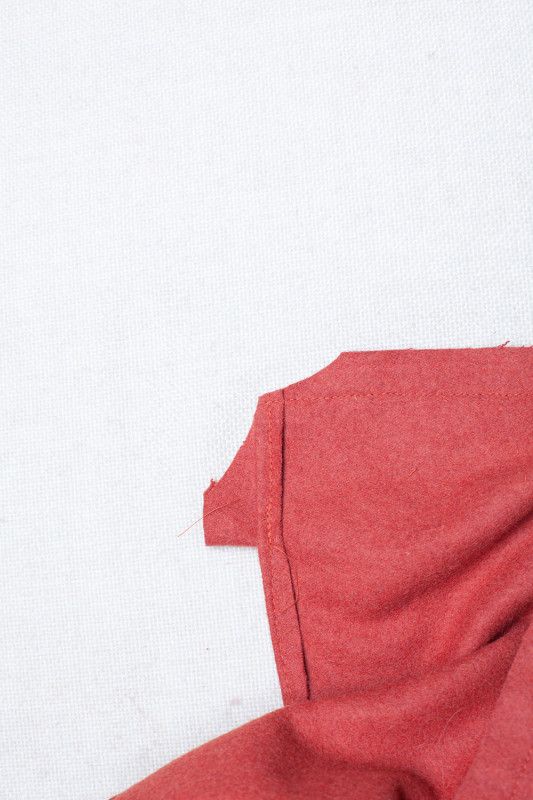
6. Clip the corner at the hem to reduce bulk.
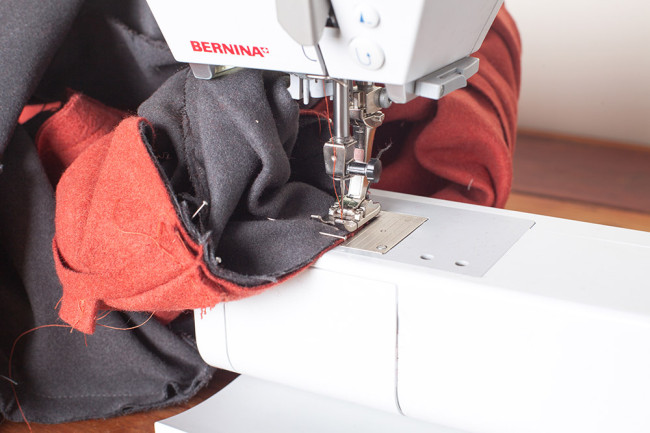
Attach Sleeve Lining to Sleeve Shell
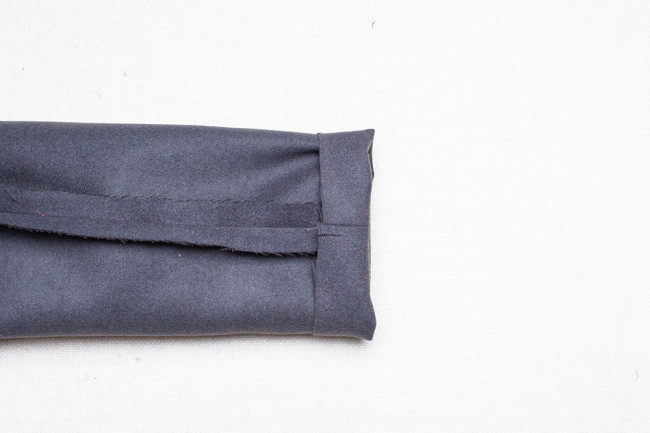
1. To stitch the sleeve lining to the sleeve shell, fold a few inches of the sleeve lining back at the sleeve hem. This will form a cuff. With wrong sides of lining and shell facing out, slip a few inches of the bottom of the sleeve lining into the sleeve hem, making sure that the sleeve remains evenly cuffed.
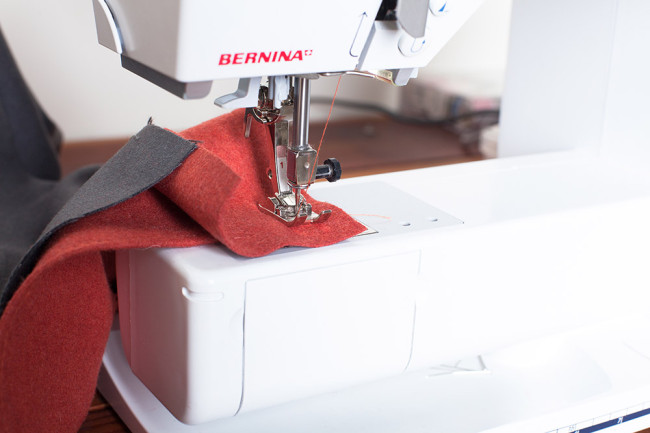
2. Align the hems of the sleeve shell and lining, with right sides together.
3. Using a 1/4″ seam allowance, carefully stitch these two hems together. Repeat for the second sleeve shell and lining.

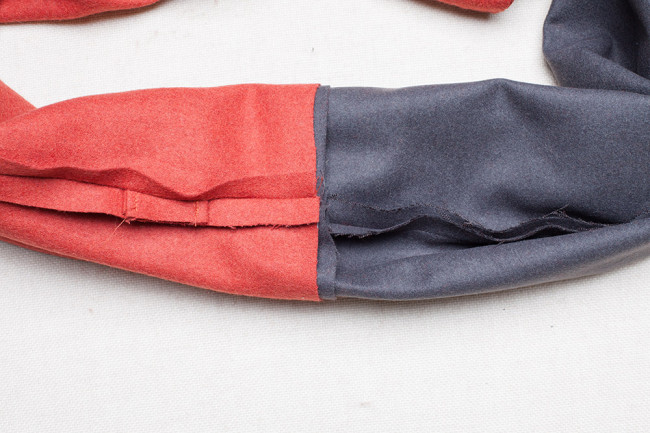
4. From the lower part of the coat, reach between the two layers and turn the sleeves right side out. Because the lining was trimmed, the sleeve should form a 1″ cuff when the lining is pulled to the inside. Press the cuff.
Comments
Hello, I’m confused about attaching the lining to the shell at the neckline. All the pieces were staystitched at a scant 5/8,” but the neckline seam allowances are 3/8,” which wouldn’t conceal the staystitching, right? I’m unsure if I should stitch at 3/8″ or 5/8″. Thank you!
The staystitching should be just inside the seamline. So if the SA is 3/8″, staystitching should be a scant 3/8″. Hope that helps!
Thank you! Just so you know, both the instructions and the sewalong say to staystitch just inside 5/8,” while the seam allowance is 3/8.”
Ooh, thanks, I’ll check that out!