

Today, we’re going to cover some fitting basics to prepare us for the next few days. We’ll talk about how to fit a muslin, then the best way to make pattern changes.
Following this, tomorrow we’ll talk about some common adjustments that might be used for men and women. On Wednesday, we’ll move on to adjustments that are most common for women in particular.
Make a test garment
Choose your size
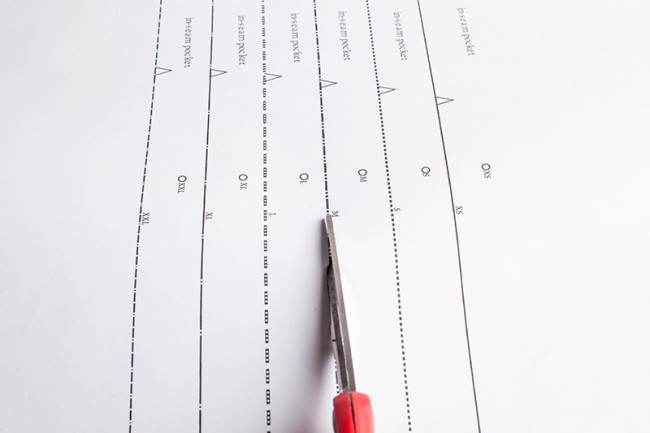
Before cutting your pattern, you’ll need to determine the right size. Take a look at the measurement chart for Albion. The most important thing when fitting a jacket or coat is that it fits your shoulders. Because of this, you should choose a size based on your chest measurement. Carefully measure the full circumference of your bust (for women) or the widest part of the chest (for men). Use that to pick the best size for your test garment.
Cut your muslin
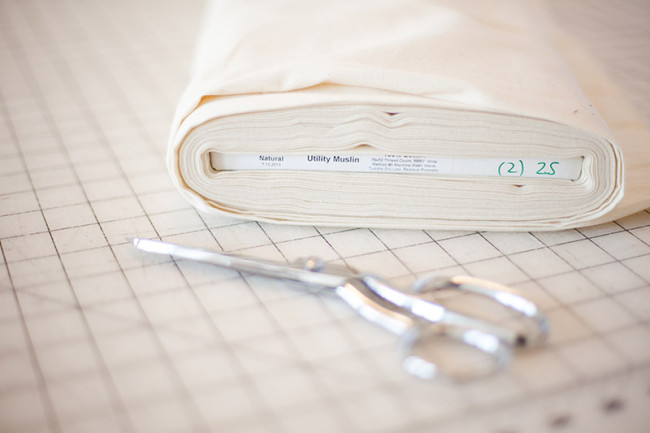
Next, cut a test garment from muslin or another inexpensive fabric. A cheap canvas also works well for a coat. You don’t need to cut the lining, pockets, facings, or tabs. Just cut the yokes, front, back, sleeve pieces. Transfer all the markings from the pattern.
Machine baste
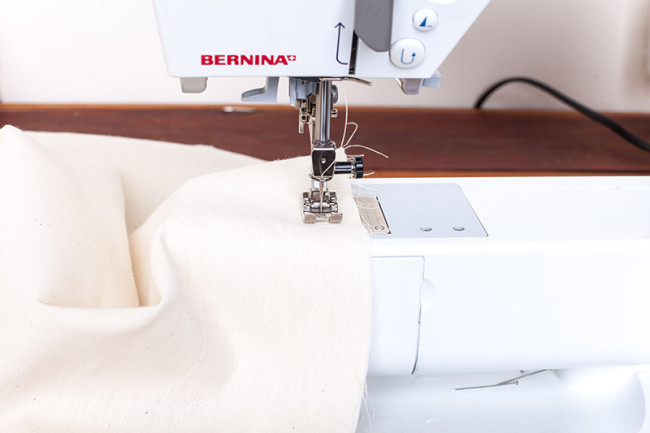
Stitch the muslin together. First staystitch the neckline of your muslin. Using a basting stitch, stitch the yokes to the front and back body pieces. Assemble the hood and stitch to the neckline. Stitch the center front facing to the center front body pieces. Join the shoulder and side seams. Next, assemble the sleeves by stitching the lower sleeve to the upper sleeve. Install the sleeves into the armholes.
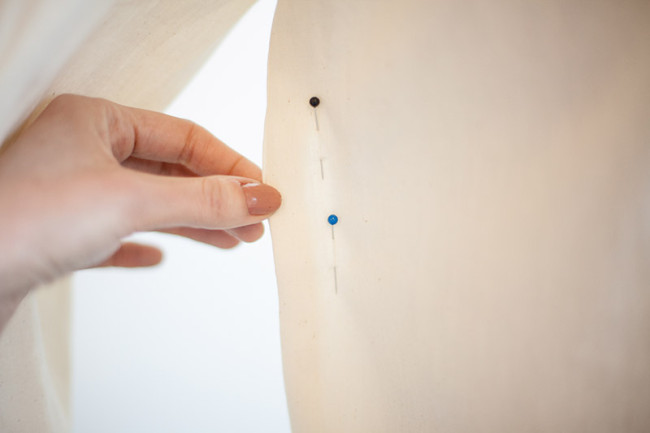
Press the exposed seam allowances under 5/8”.
Baste in place.
Check the fit
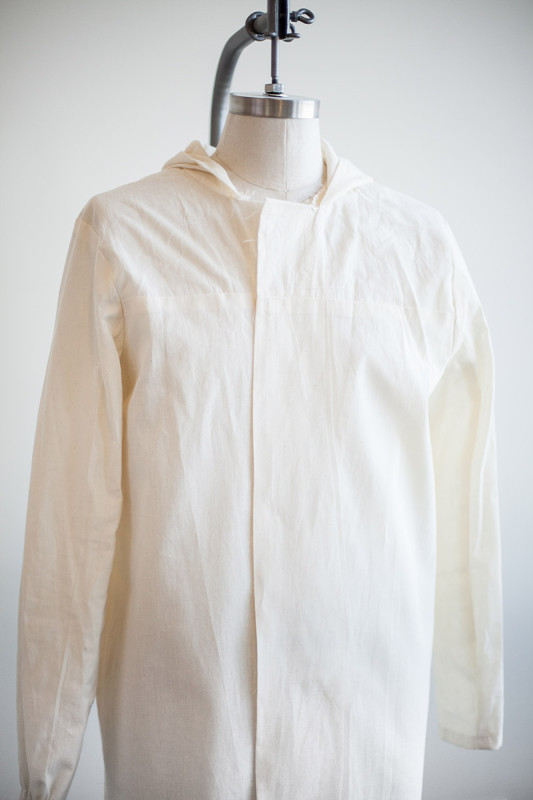
Now we are going to check for any fitting issues and correct them before you cut into your real fabric. Try the test garment on over an outfit that you think you will be wearing with the coat. If possible, have a friend of family member help you look for any issues. Use a mirror (or multiple mirrors)!
Don’t just stand in one place. Walk around, sit in a chair, bend and straighten your arms. Give someone a hug! It’s a great way to test the fit at the shoulders and back and make sure your arms move freely
If an area is too large, pin out any excess fabric. If it’s too tight, slash the fabric open. Don’t be afraid to cut up your muslin.
Measure areas you pinned out or slashed to see how big any adjustments need to be. If you have one or more trouble spots have a look below at our guides to fitting for men and women to determine the best way to tweak your pattern.
The instructions that follow assume a little familiarity with adjusting patterns. If you’ve never modified a pattern before, you should still be able to follow along. If you’re interested in a basic primer on common pattern adjustments, check out the chapter on fitting in The Colette Sewing Handbook.
If the jacket feels to big or too small everywhere you may need to cut a larger or smaller size. If you’re making a lined coat keep in mind that the final garment will be made from multiple layers of fabric, so it will feel much more snug. Err on the side of feeling loose.
Adjust the pattern
Trace the pattern
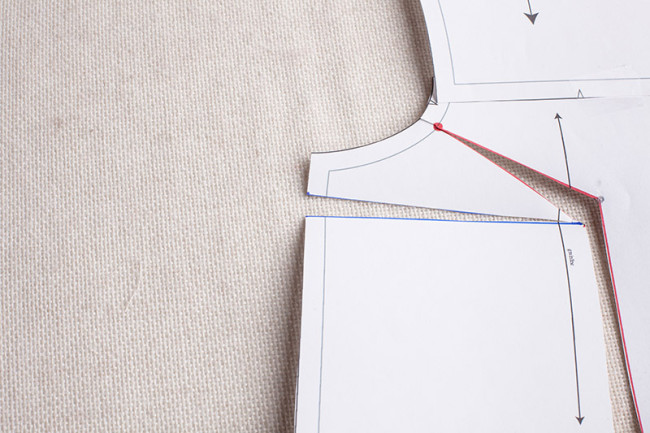
When making adjustments, it’s always a good idea to trace the pieces you’ll be modifying onto fresh paper, so you don’t need to cut up your pattern. You will notice that the seam allowances are drawn in with dashed lines. You’ll want to draw them in on your pattern as well. To save time, you don’t need to draw them in on the entire pat- tern. For example, if you know you’ll only be adjusting a side seam and a shoulder seam, simply draw the seam allowances in those particular areas.
Tape the pattern pieces together
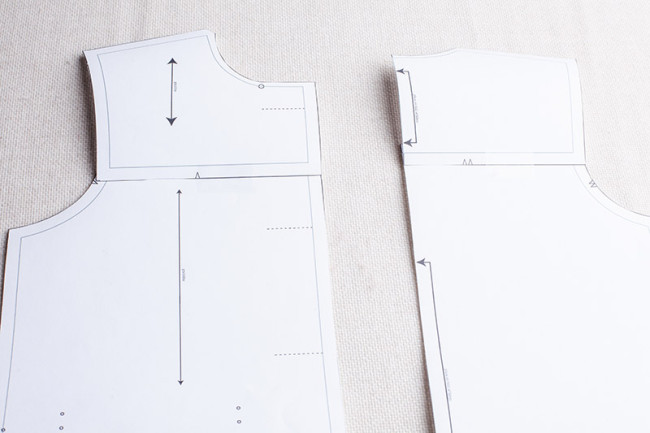
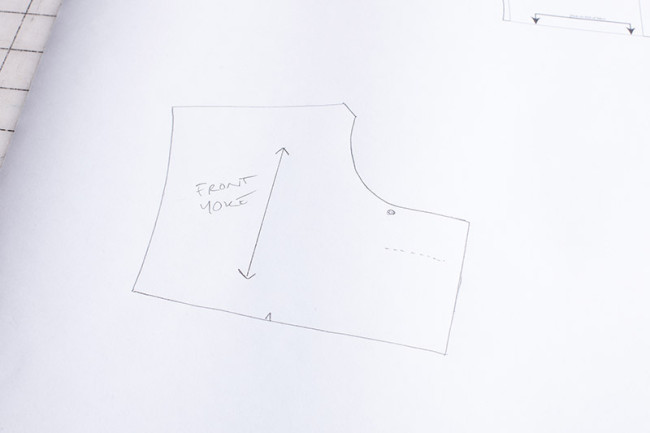
For some adjustments, you may sometimes need to tape the front yoke to the front body and the back yoke to the back body along the yoke seam lines. Be sure to align the seam lines, not the edges of the pieces).
Pivoting and slashing
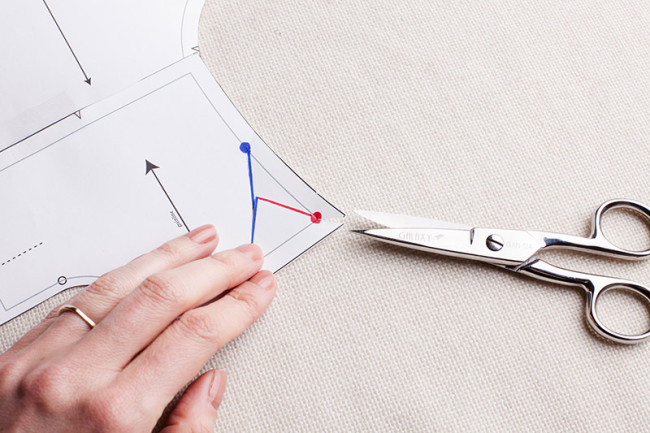
The techniques I’ll show you in the next couple days mainly involve pivoting a pattern at a certain point on the seamline. I’ll refer to these as “pivot points.” These act like little hinges, allowing you to modify the pattern without disrupting the length of the seam. When I instruct you to draw a pivot point, make a little dot on the seamline. Slash up to that point, but not through it. Then clip the seam allowance, also up to the point but not through it. You now have a little hinge for pivoting your pattern around.
Other times, you will actually need to alter a seam. In this case, there will be no pivot point, and you can slash right through the seam allowance.
So, those are the basics for creating your muslin, checking the fit, and the methods we’ll use for altering the pattern.
In the next post, we’ll start going over some of the more common pattern alterations you might decide you need. On Wednesday, we’ll address a few alterations that will be especially useful for women.
Comments
I’m a little lost about what size to cut. Above it says the jacket needs to fit the shoulders, but to cut the size for your bust. If I cut the size for my bust, judging by the finished shoulder size, it will be way too large! I know shoulder adjustments will be covered, but I’m worried that there will be too much to take out and the pattern won’t fall correctly. As it is, even the smallest size is 2″ larger than what the finished measurment should be, and if I go by my bust, I should be cutting out the 3rd size. I know the coat needs to be a bit larger, but this is unknown territory for me! I should also mention that I am slightly on the petite side with a B cup.
Just cut a muslin. I was unsure what size to cut, so i cut out a muslin in smaller size. I’m really pear shaped so i decided that i’ll go from L at the shoulders to XL at the hem.
Remember that this pattern is designed for men as well, so fitting the chest and shoulders is going to be different depending on your gender (and build).
For a woman, you really want it to fit around your bust, then adjust the shoulders (which we’ll cover).
If you have a large bust (cup size) you can also do a full bust adjustment (which we’ll also cover). Your muslin will really help you sort this out!
I’m following right along with you. I’ve cut and basted my muslin. Pretty good fit except for the length and the shoulder width. I’m looking forward to the next post since I have no idea how to narrow a shoulder width.
Regarding the length of the coat, where do you think the coat’s hem should hit a petite, pear-shaped woman? I’m undecided between mid-thigh length and just below the hip length.
It’s really hard to say, since it’s largely a matter of preference. I’m neither petite nor pear shaped, but I really like the below hip length. But then again, I like short coats. :)
Oh thanks for your feedback. I prefer the shorter length too, and it will probably work better on my petite frame, proportionally speaking. Thanks again!
I cut my muslin and except for the shoulders, which are a tad to broad, and some lacking waist definition it looks really good!
But I’d really like to make the hood a bit larger so it covers my head better and my glasses don’t get wet in the rain. Do you think it will work just to ‘add a triangle’ to the main hood pattern piece so it is broader on top but the width at the neckline is the same. I was wondering if this would disturbe the grainline in a weird way.
I’m not 100% sure I’m interpreting your suggestion correctly, but all you’d need to do is make the hood center piece (the one that looks like a long rectangle) wider on one side then the other.
Just slash it down the middle and spread it into more of a triangle shape. :)
That’s not quite what I meant. :) That would make the hood wider, but I actually meant I want it to be deeper. (I guess I didn’t explain that very clearly.)
My first idea was this (red lines = alteration)
http://kohlrabibohemia.files.wordpress.com/2014/01/hood.jpg
And thanks so much! It’s just amazing how involved you are and how quick your answers are! :)
+ of course I would have to lengthen the center panel. :)
And I have one last fitting question (I promise!): Instead of doing a narrow shoulder adjustment per your instructions AND taking the sides in a bit, could I just reduce the width of both the front and the back pieces by a few centimetres right in the middle were it would not influence the armhole or anything else?
For the hood: Yep, that would work! Sorry, I totally misunderstood.
You can reduce the width that way for sure. Just remove the extra ease from the shoulder straight down. The body will be more narrow, as will the shoulders, but the neckline and arms will stay the same. Very easy.
I’m thinking of removing ease in the same manner (vertical slash through yoke and body) because my 1st muslin in the XS swallowed me. :-) I don’t see CF marked on the Front Body and Front Yoke. Is it safe to assume it’s in the center of the “Center Toggle Here” markings? I want to be sure I know how much overlap there will be in the front of the finished garment so I don’t remove too much ease. Thanks!
Yes, that is correct.
I have some questions: how much can I alter the jacket? For example, can I omit the tab with the 2 buttons, the one that holds the hood (the one that looks like a chin strap).
Can I add leather trim? elbow patches??
Also, at the top of the page, it says that seam allowances are marked with dashed lines….well, I don’t see them. (PS. I downloaded the pattern)
Sure. You can do all of those things.
The bit about dashed lines is referring to the images in the post, not the pattern you purchase. That pattern is multi-sized, so cannot display seam lines. The post is recommending that you trace the pattern and then draw in the seam lines, as we have done here.
I cut my muslin and it is way too big. After cutting the pattern how can I cut out the xsmall pattern?
Thanks.
Hi Jordan. This is why we recommend tracing your pattern, so you don’t cut away other sizes! But you can still make it smaller. Use the methods we describe for removing fullness to get rid of some of the width at the shoulder to the hem, and at the neckline to the hem.
Also, be sure to try it on over clothes like sweaters and account for the thickness of your fabric and lining. Your muslin will definitely feel a little bigger than your final coat.