

Creating Patch Pockets
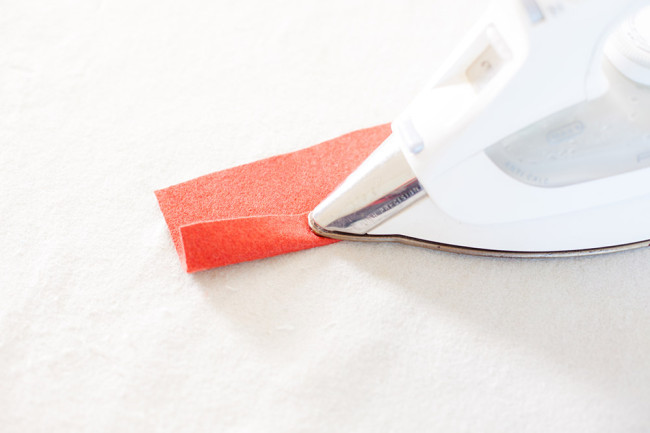
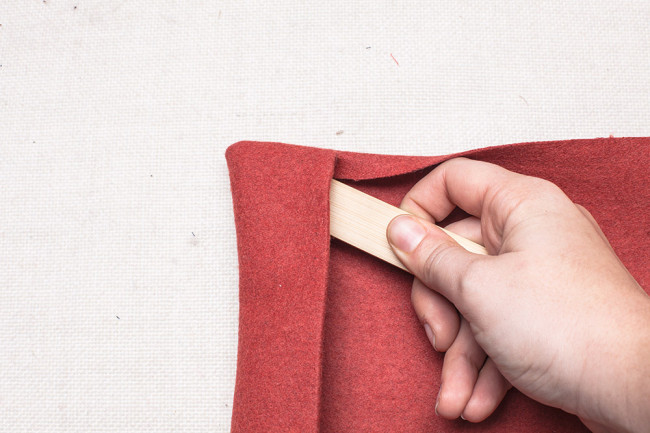
1. Fold patch pocket facing (G) along the foldline toward the wrong side of the fabric.
Tip: Use a clapper to get a sharp crease.
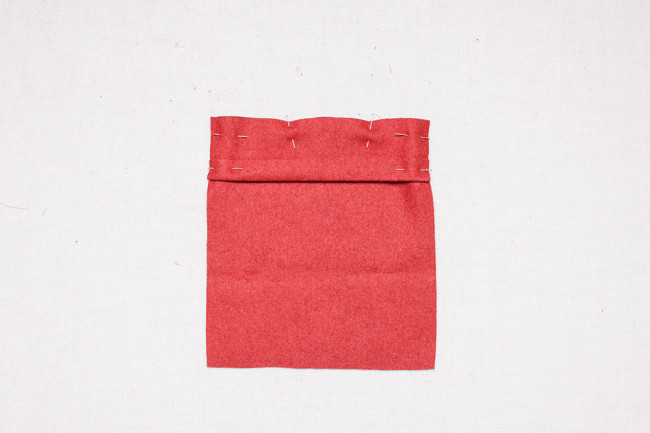
2. With right sides together, align the tops of patch pocket facing (G) and patch pocket (F).
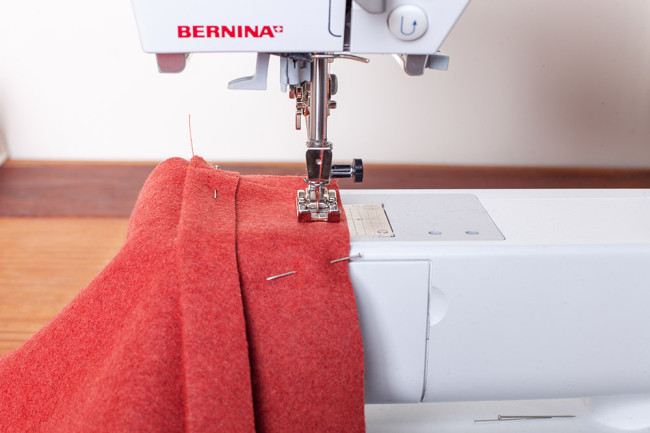
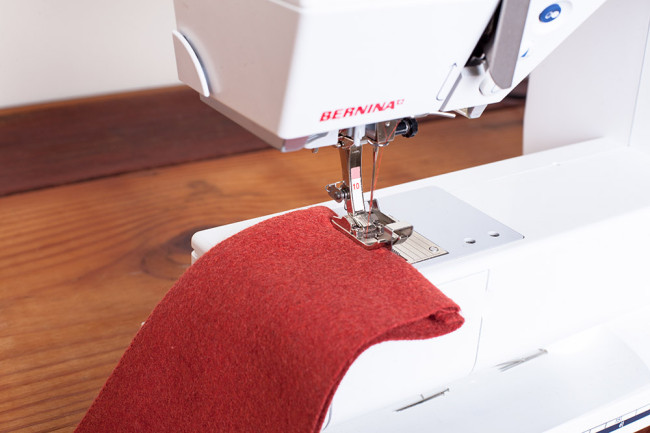
3. Beginning at the folded edge, stitch patch pocket facing (G) to patch pocket (F) using a 3/8″ seam allowance. Pivot and stitch across the top edge; pivot again and stitch to the folded edge.
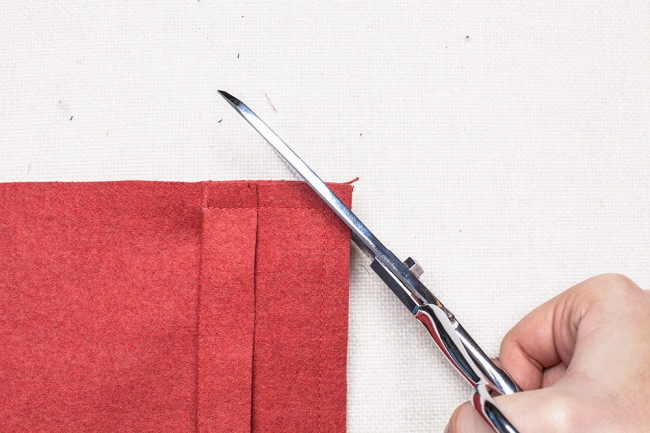
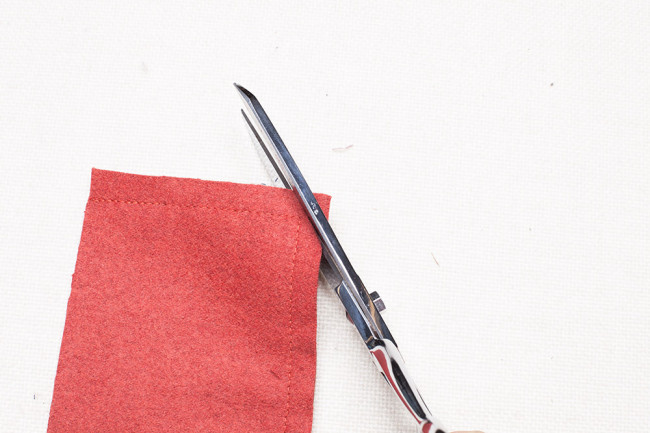
4. Clip the corners of the seam allowance.
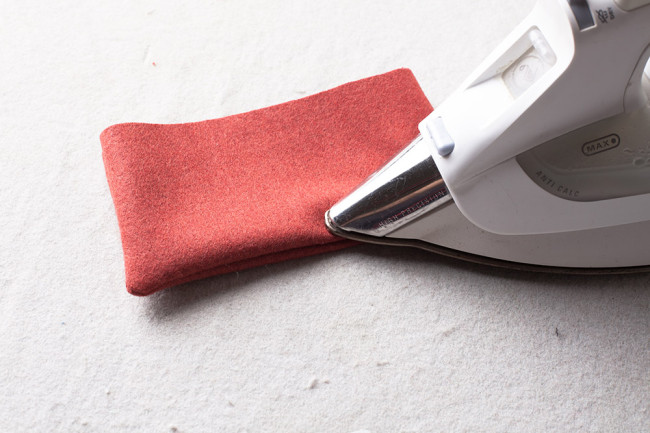
5. Turn patch pocket facing (G) right side out. Press.
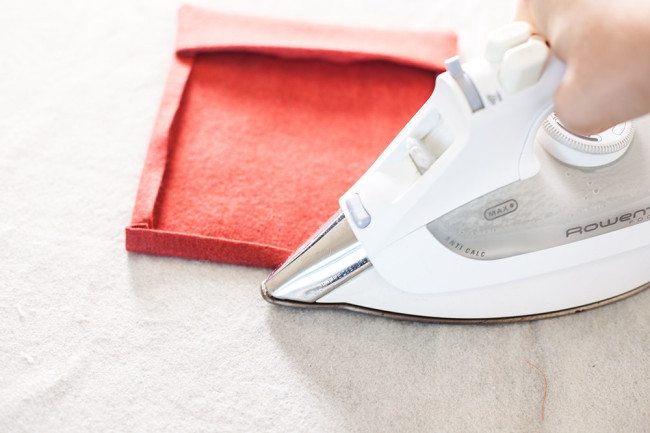
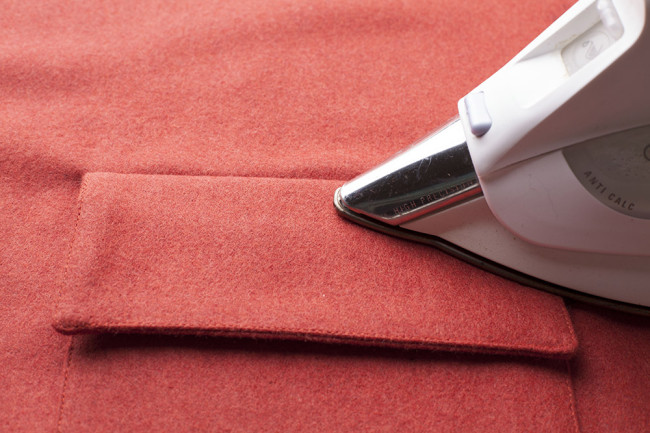
6. Turn the raw edges of patch pocket (F) under 3/8″. Press. Repeat for the second pocket.
Attach Patch Pockets
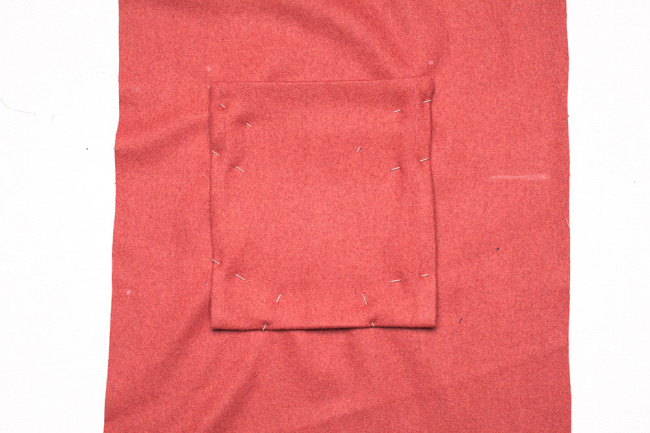
1. Place patch pocket (F) between the lower set of circles on the right side of front body (B).
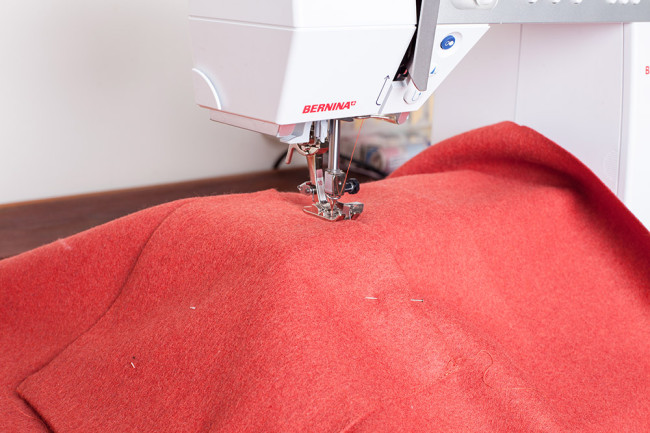
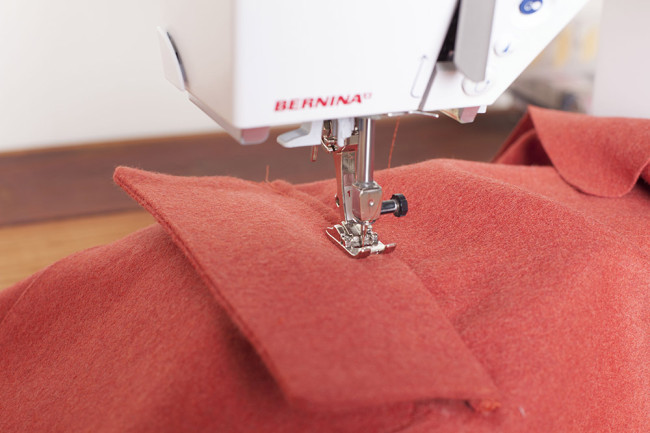
2. Edgestitch the pocket in place, leaving the top edge open. To reinforce the pocket, stitch small triangles at the top edges. Repeat for the second pocket.
Tip: Use an edgestitching foot to help sew the pocket in place.
Create Pocket Flaps

1. With right sides together, stitch two patch pocket flap (H) pieces together using a 3/8″ seam allowance. Leave one long edge open.
2. Clip the corners and trim the seam allowance.
3. Turn the flap right side out. Press.
4. Topstitch 1/4″ from each of the three sewn edges. Repeat for the second set of flaps.
Attach Patch Pocket Flaps

1. Align the raw edge of patch pocket flap (H) between the upper set of dots on the right side of front body (B), with the sewn edge facing upwards. Stitch along the raw edge at 1/4″.
2. Press the flap downward.
3. Topstitch 1/4″ from the folded edge.
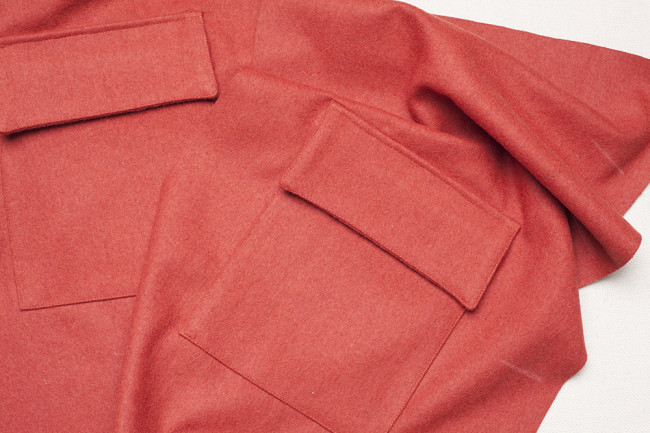
4. Repeat for the second patch pocket flap (H).
Comments
I have spent last 4 hours making first six bound buttonholes in my life for this coat! I added buttonholes on pocket flaps aswell. It was pretty fiddly on hood and sleeve tabs. Kinda proud of myself. :)
Yay! Great job. They are kind of fiddly, but so so worth it when you’re done!