

Tip: If you want to install a hood drawstring reference those directions and start here.
Version 1
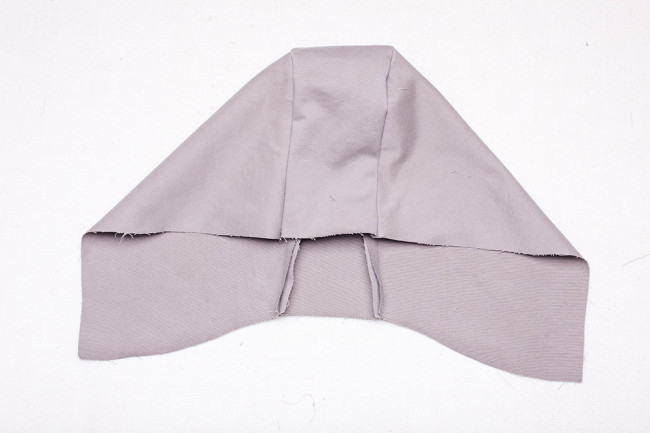
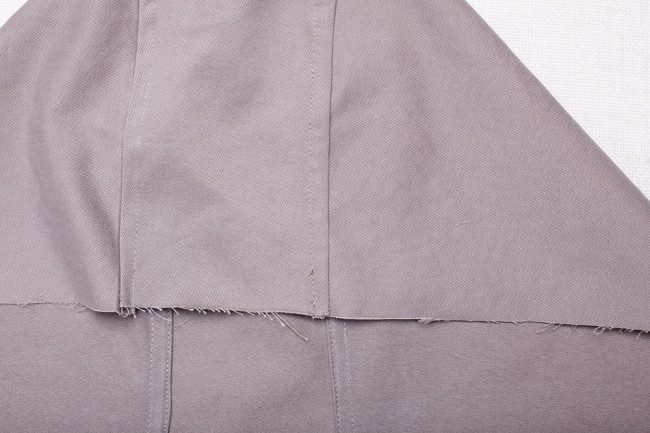
Create Hood Shell
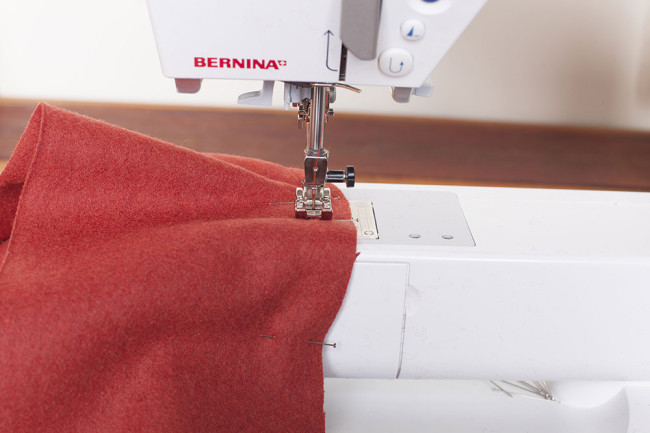
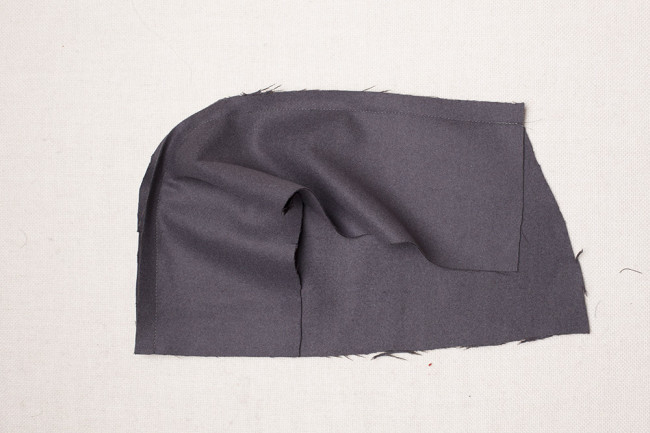
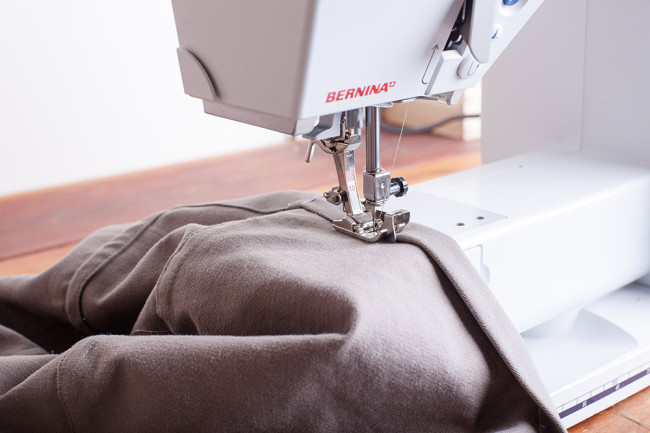
1. With right sides together and notches aligned, stitch hood side panel (J) to hood center panel (K).
2. Repeat for the second hood side panel (J) piece.
3. Press seams toward the center of the hood shell.
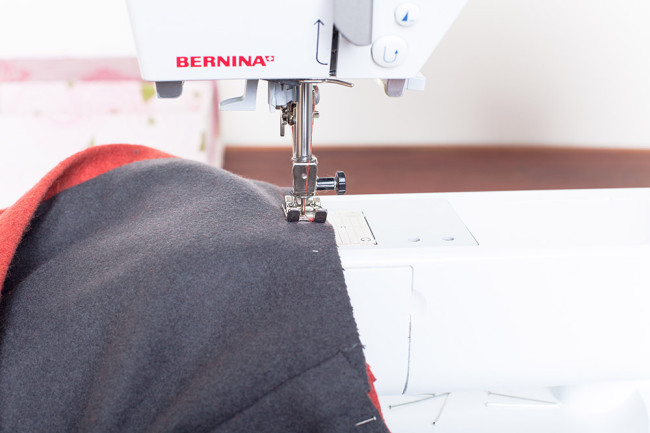
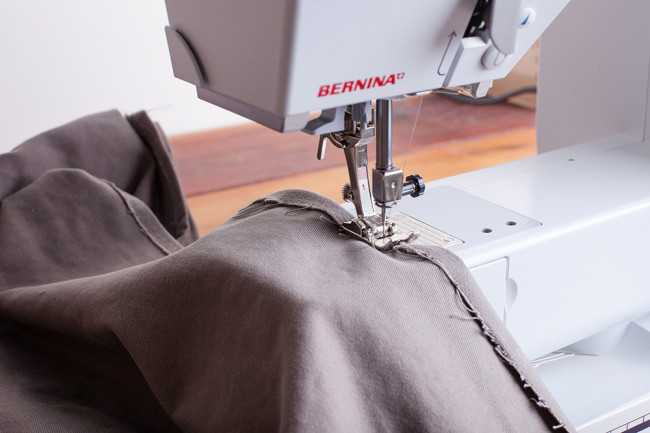
4. On the right side of the hood shell, topstitch the seams 1/4″ from the seam line along the hood center panel (K).
Create Hood Lining
1. With right sides together and notches aligned, stitch hood side panel (J) lining piece to hood center panel (K) lining piece.
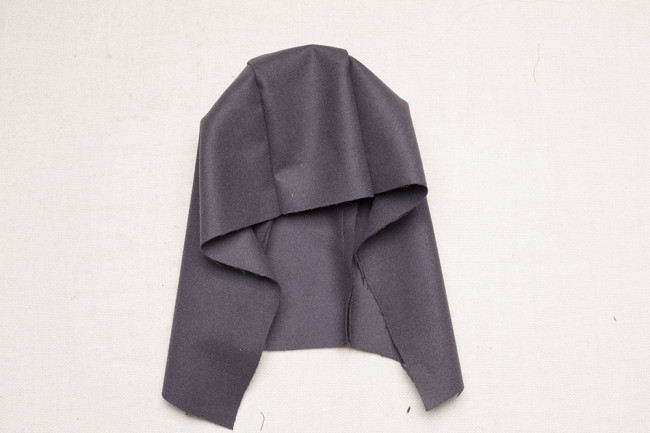
2. Repeat for the second hood side panel (J) lining piece.
3. Press seams toward the center of the hood lining.
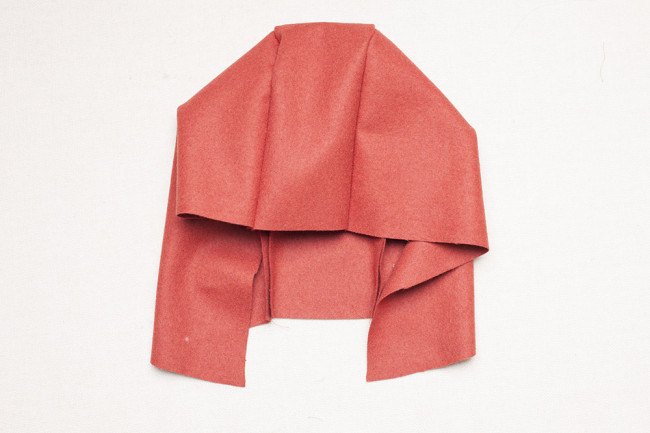
Assemble Hood
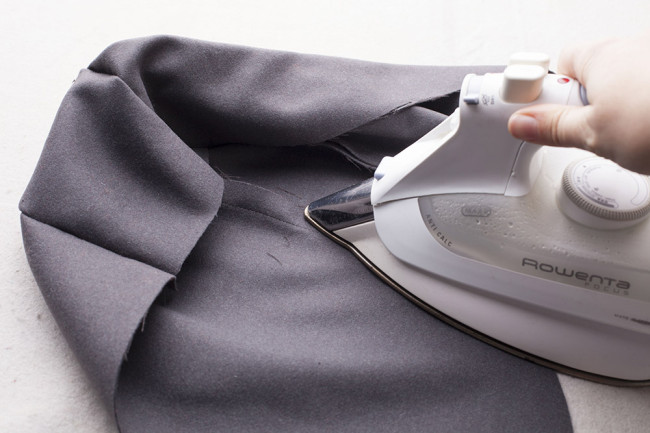
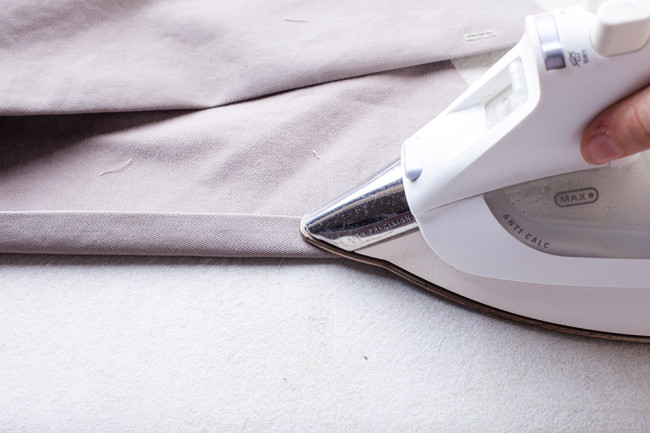
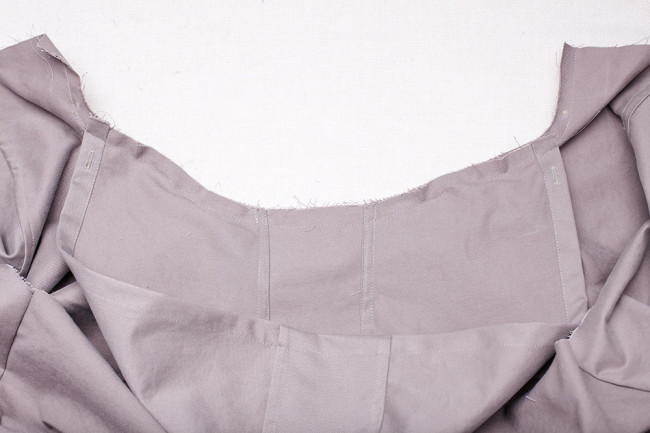
1. With right sides together, stitch the hood lining to the hood shell around the hood opening, leaving the neckline open.
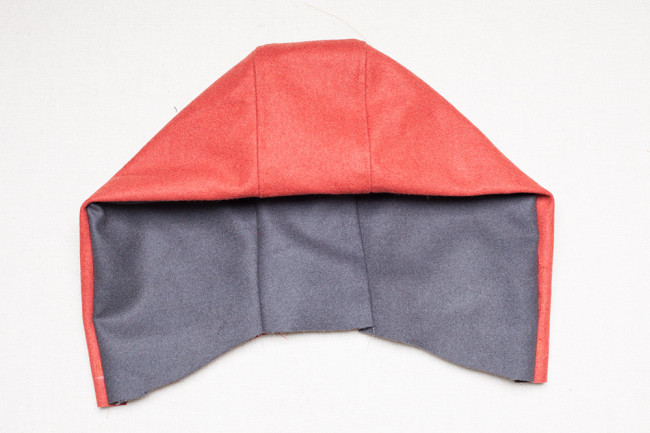
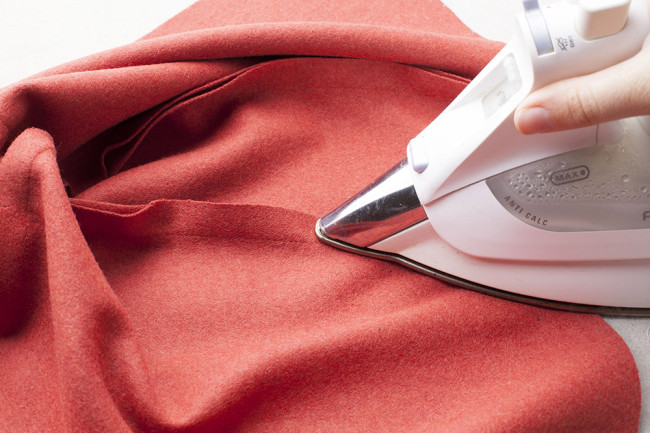
2. Turn the hood right side out so the lining is inside the shell. Because the lining is smaller than the shell, a 5/8” hem will form around the hood opening.
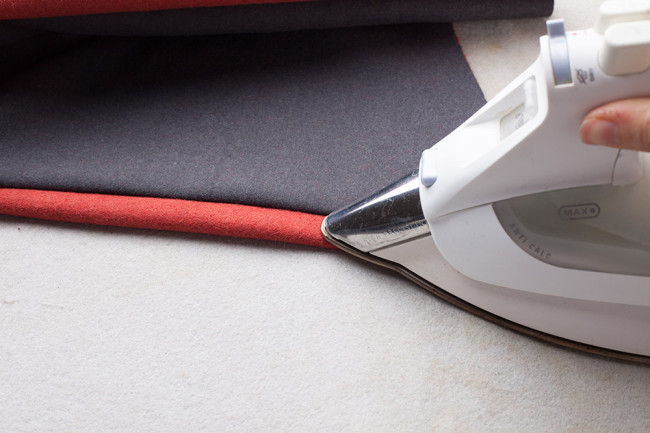
3. Press this fold in place.
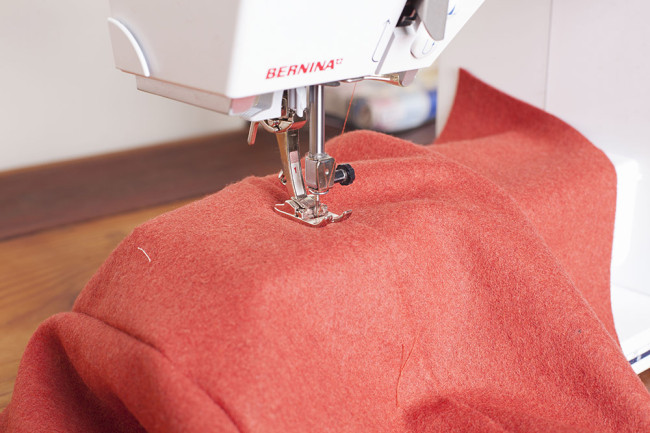
Attach Hood

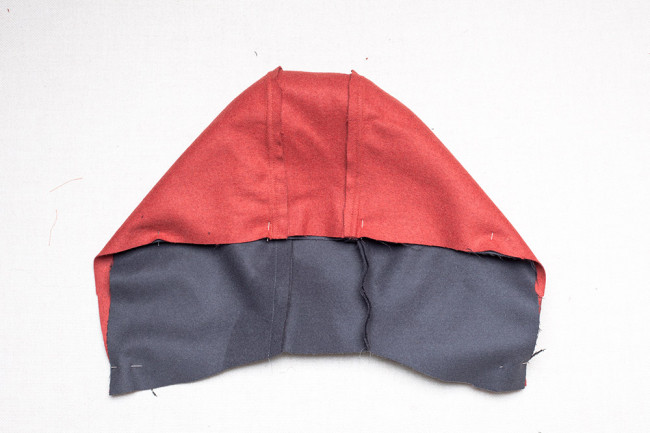
1. With right sides together, pin the hood to the neckline between the large circles on the front yoke (A) pieces.
2. Stitch lined hood to neckline using a 3/8″ seam allowance.
Create Hood Tabs

1. With right sides together, stitch the two remaining tab (L) pieces together, beginning and ending on one of the long sides. Leave a small gap in the stitching so you can later turn the hood tab right side out.
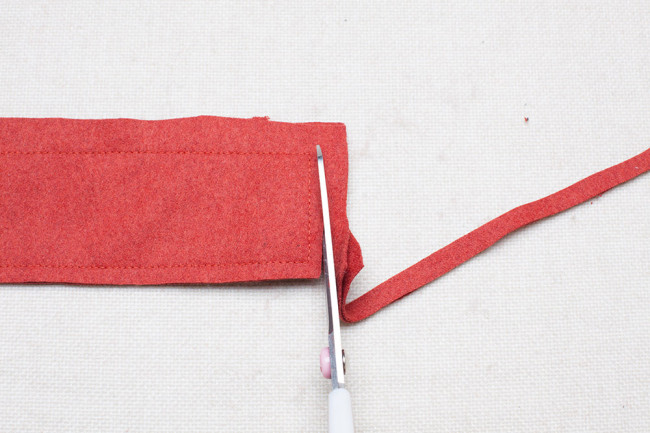
2. Trim the seam allowance to 1/4″ and clip the corners. Turn hood tab right side out
and press.
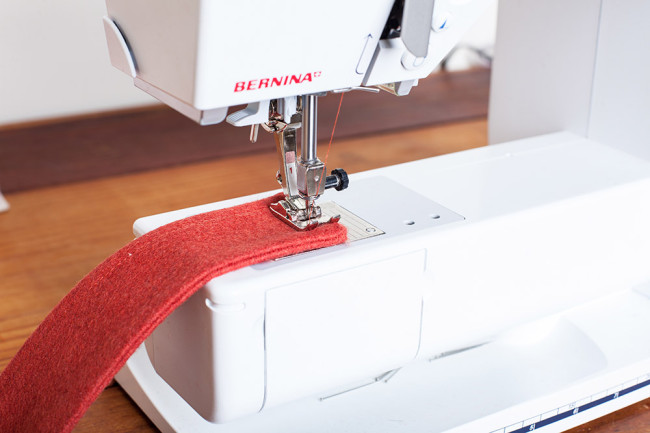
3. Topstitch 1/4″ from the sewn edges, closing the gap left on the long side of the hood tab.
Version 2
Sew Hood
1. With right sides together and notches aligned, stitch hood side panel (J) to hood center panel (K). Repeat for the second hood side panel (J) piece.
2. Flat-fell each seam allowance to finish.
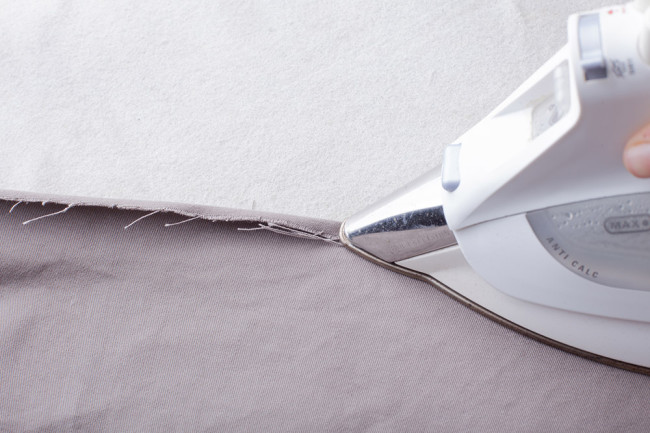
3. Turn the edge of the hood opening under 5/8″ and press.
4. Turn again 5/8″ and press. Stitch in place to form a hem on the hood opening.
Attach Hood
1. With right sides together, pin the hood to the neckline between the large circles on front yoke (A) pieces. Stitch hood to neckline using a 3/8″ seam allowance.
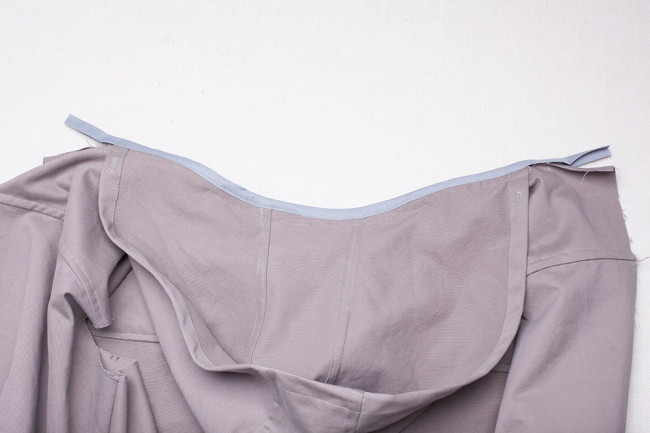
2. Finish neckline seam where the hood meets the body with bias tape. Extend the bias tape about 2″ from the edge of the hood on either side. This will be covered later by the facing.
Turn Hem
1. Turn the lower edge of the jacket under ¼” and press to form a temporary narrow hem.
2. Baste in place.
Comments
The hood with the two parallel stitches along the back; what is the name of this type of hood?
It’s a 3-piece hood.