

Version 1
Attach In-Seam Pockets
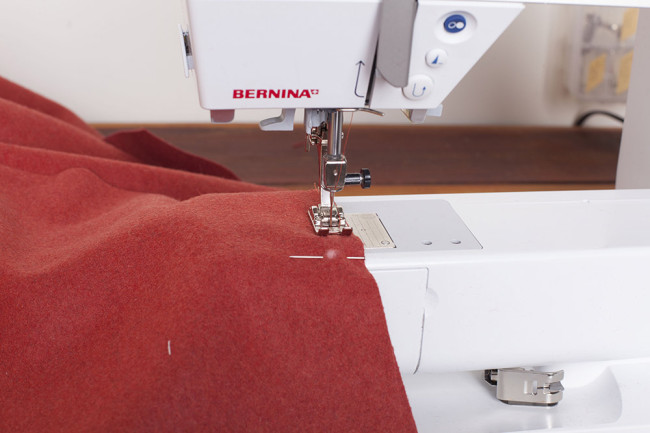
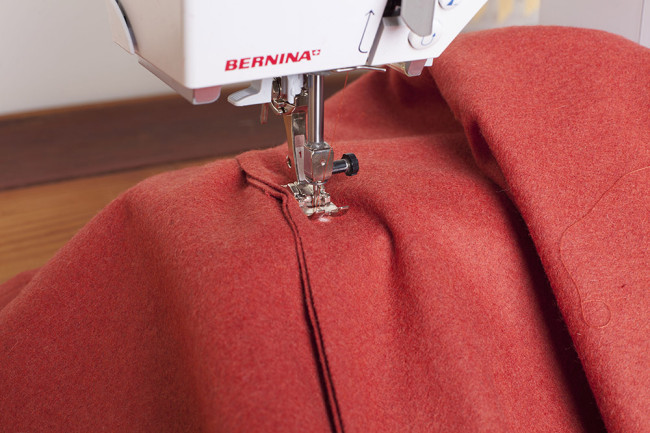
1. Place in-seam pocket (I) on front body (B) between the small circles on side seam. With right sides together, stitch in-seam pocket (I) to front body (B) between the circles using a 3/8” seam allowance.
2. Repeat for the second coat front and back pocket pieces.
Version 2
Create In-Seam Pockets
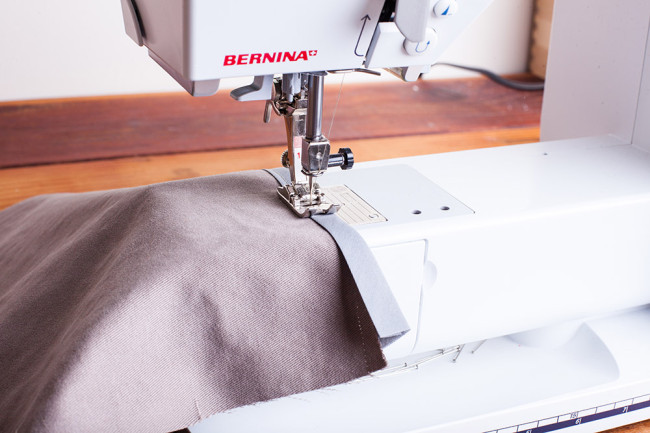
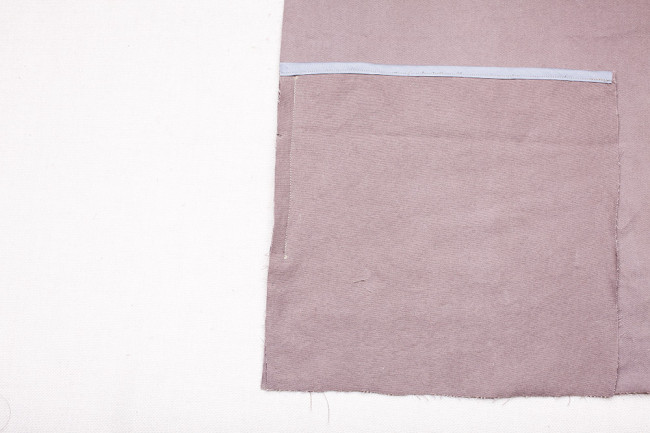
1. Finish the upper edge of each in-seam pocket (I) piece separately by binding the edges
with bias tape.
Attach In-Seam Pockets
1. Place in-seam pocket (I) on front body (B) between the small circles on side seam. With right sides together, stitch in-seam pocket (I) to front body (B) between the circles using a 3/8″ seam allowance. Repeat for the second jacket body piece.
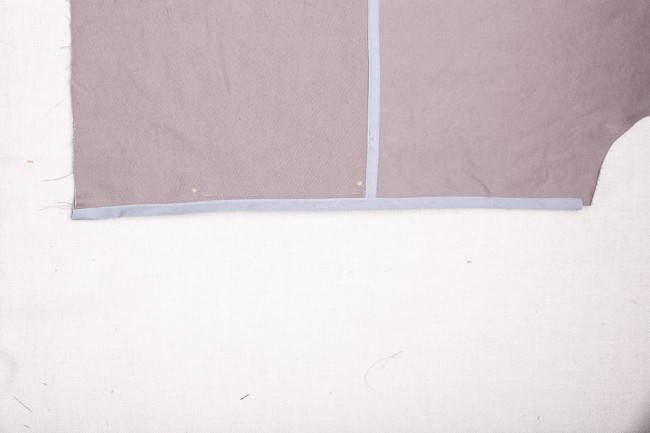
2. Finish the side seam edges of front body (B) with bias tape.
3. Repeat steps 1 and 2 for back body (C).
Sew Side Seams: Both Versions
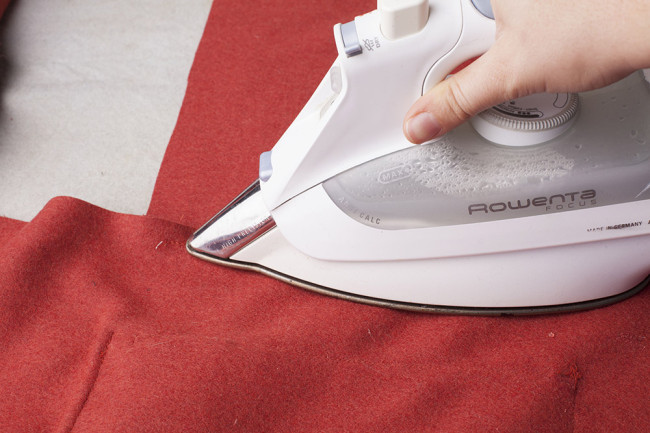
1. Press all pocket pieces away from the coat body.
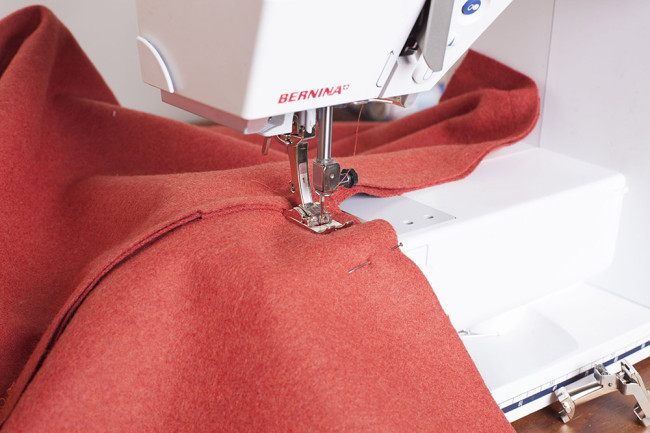
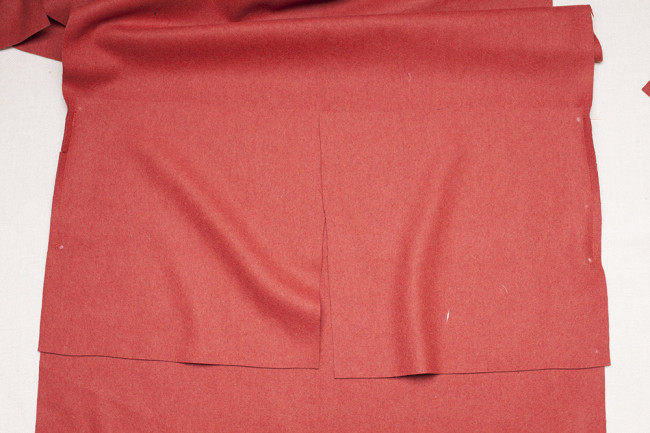
2. With right sides together, stitch front body (B) to back body (C) at the side seams. Begin stitching down from the underarm, pivoting at the first circle to stitch around the pocket.
3. Continue 5/8” past the seam line where the in-seam pocket (I) meets the front body (B).
4. Pivot sharply and stitch up to the second circle.
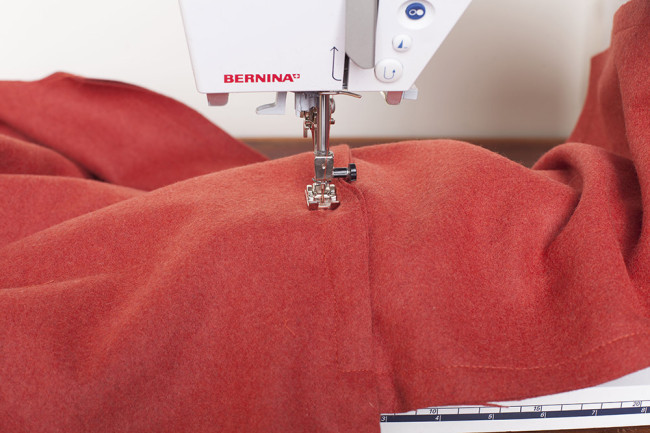
5. Pivot one last time to stitch down to the hem.
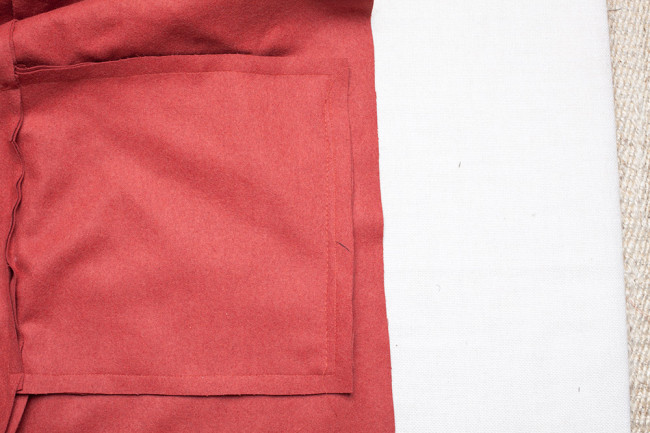
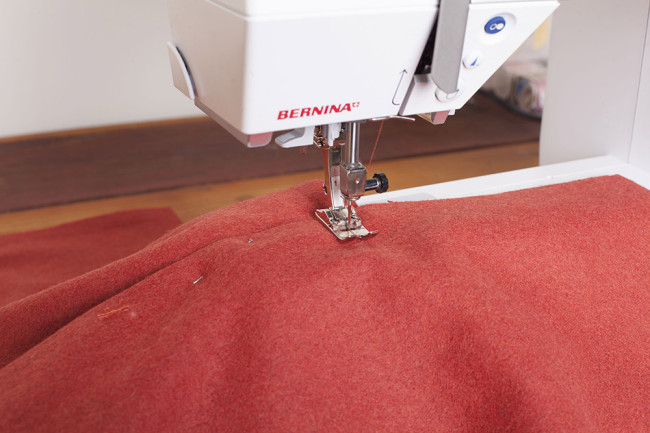
6. Press the finished pocket toward the front. Baste the pocket to the front body (B) to hold it in place.
Comments
Just a word of caution – my jacket fabric was so heavy and thick that when the time came to sew the front and back together at the sides, my machine had a really hard time sewing through all the layers at the point where you have to go over the front piece/back piece/pocket seam allowances. If I could, I would have gone back and used my lining fabric for my pockets, which would have been slightly thinner. Just a thought!
I thought about using my lining fabric for the pockets, but changed my mind. I hope my machine can handle sewing the thick layers of fabric as well. I will be making them today. We shall see!
btw, Good luck with the rest of the sew along! =)
I’m making Version 2 and my fabric is a weatherproof fabric that has a more fleece-like inside and a vinyl outer. I would have liked the softer side to be the inside of the pockets, so i’m going to unpick and reverse the pockets. Just a thought for anyone using a very two-sided fabric.
I also used lining on the underside of the pocket flap, and a lighter weight version of coat fabric for outer pocket facing and inner pocket. After sewing my muslin, I found that these lighter versions helped me to sew more easily and press cleanly to the coat!
I’m a little late on the sew along and I have a problem with this step. We are suppose to sew the inse pockets with a 3/8 inch seam allowance but then stich the coat seam with a 5/8 inch allowance. I guess the two sets of stitches are suppose to meet at the two circles, right ?
Then I do not get the drawing in the pattern booklet or the way your stiches look after the “pivot sharply to the second circle”
I really feel stupid on this one…
Hi Natacha,
I think the photos for this are a little difficult because there’s so much fabric involved. I will try to explain.
You stitch the pocket to the jacket with a 3/8″ seam allowance.
You sew the side seam with a 5/8″ seam allowance, pivot, then sew around the pocket. At this point, you should be near the bottom of the pocket.
Pivot again and sew up toward the lower circle.
When you reach the circle, pivot again to sew back down from the circle towards the hem. You will be stitching back over some of your previous stitching here.
The reason the pockets have a smaller seam allowance than the side seam, is so the pocket rolls to the inside and there’s no danger of catching it in your stitching.
In the illustration, we tried to show all the lines of stitching so it would be clear how to do it. In real life, you’re sewing right over your stitching when you stitch from the lower circle to the hem, so it would look slightly different.
Thanks! That’s what I thought but I wanted to make sure I hadn’t missed something :-)
And sorry about mispelling, it’s my tablet :-)
Hi,
I am constructing version 2 in size XS. The bottom edge of both of my in-seam pockets hit right at the bottom raw edge of the jacket. What happens here when it comes time to hem? Does the bottom of the pocket get enclosed in the hem? I am concerned about it as there will be a lot of layers there and it will get pretty bulky. Any help would be great.
Hi Bella. The pockets are intented to reach the hem and become enclosed in it at the bottom.
This post covers the process: /albion/albion-installing-the-center-front-facing
If you’re concerned about bulk beneath the hem, you can trim away some of the pocket. Just make sure you leave enough to catch in the hem stitching.