

Version 1
Creating Sleeve Tabs
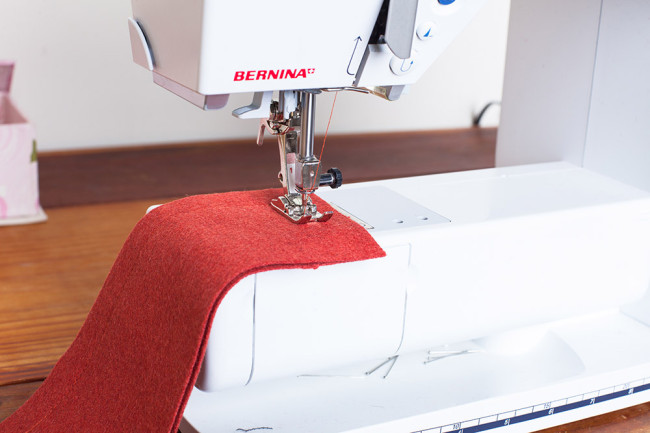
1. With right sides together, stitch one tab (L) piece to another tab (L) piece. Stitch along three sides, pivoting at the corners. Leave one short side open.
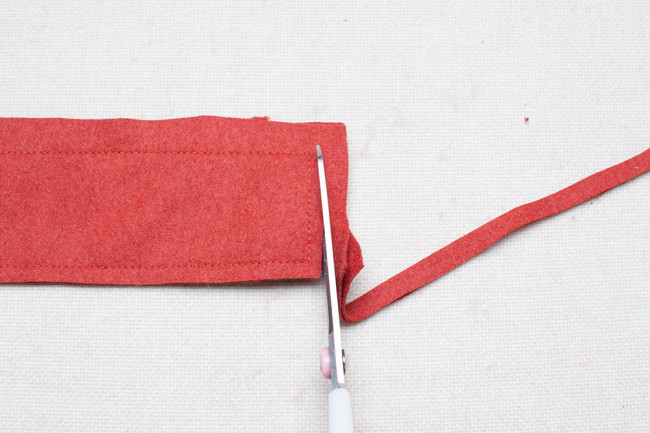
2. Trim the seam allowance to 1/4″ and clip the corners.
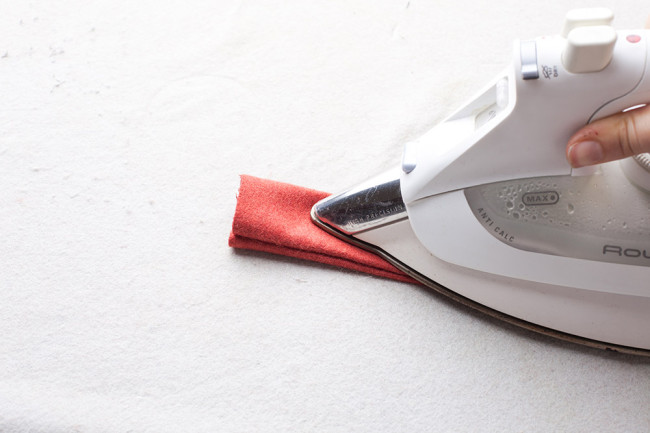
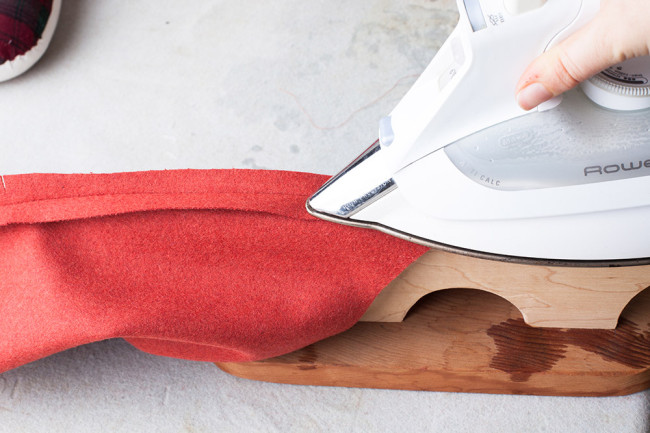
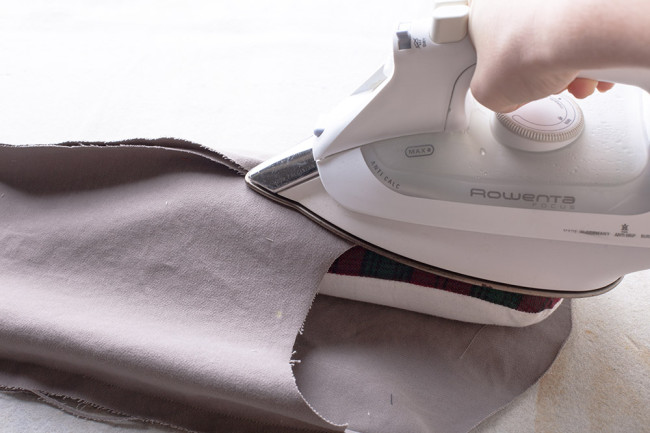
3. Turn sleeve tabs right side out and press.
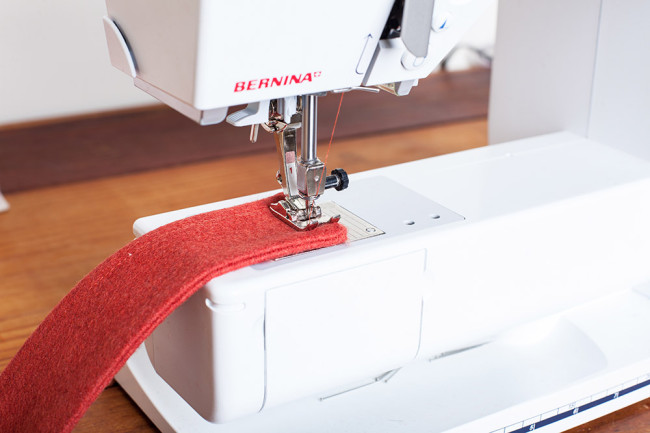
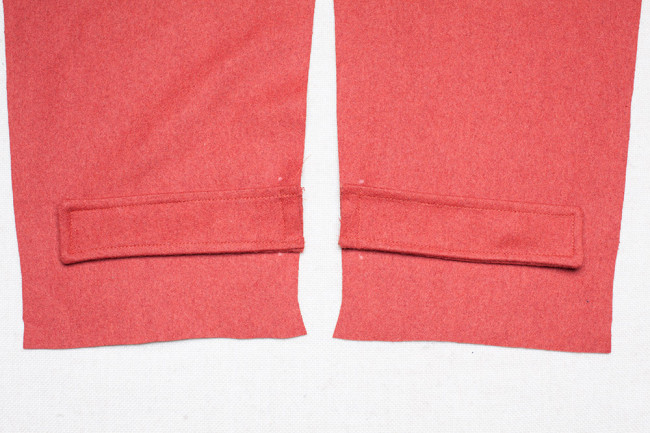
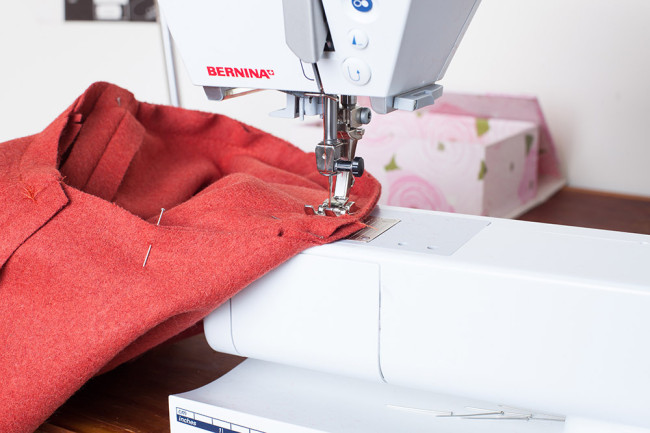
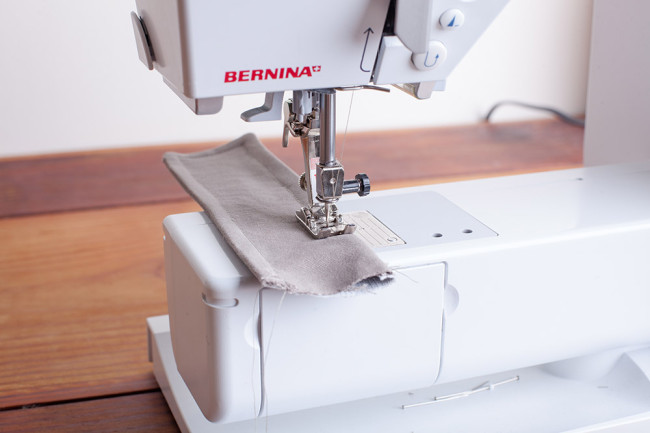
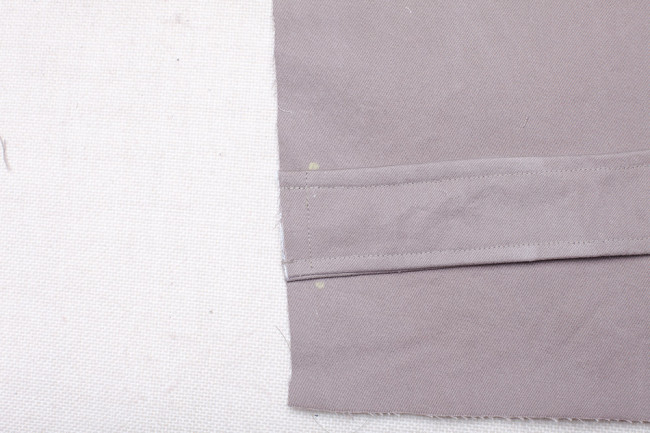
4. Topstitch 1/4″ from the sewn edges. Repeat to create a second sleeve tab.
Create Sleeve Shells
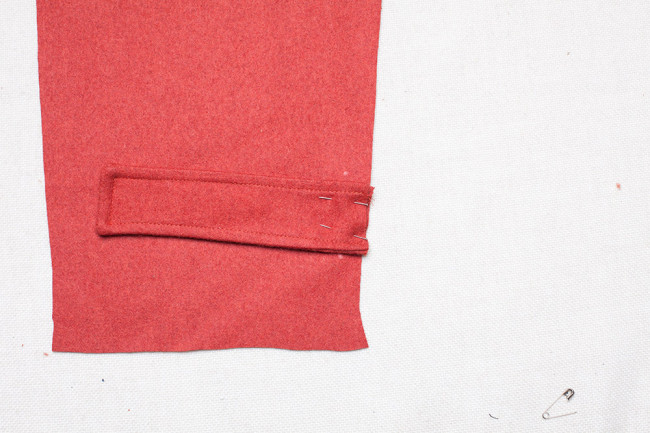
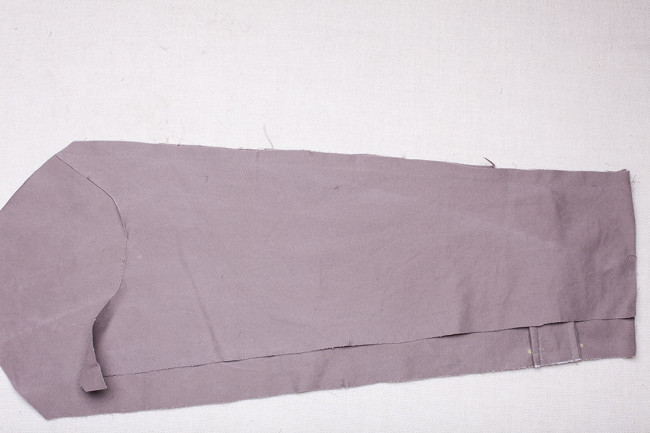
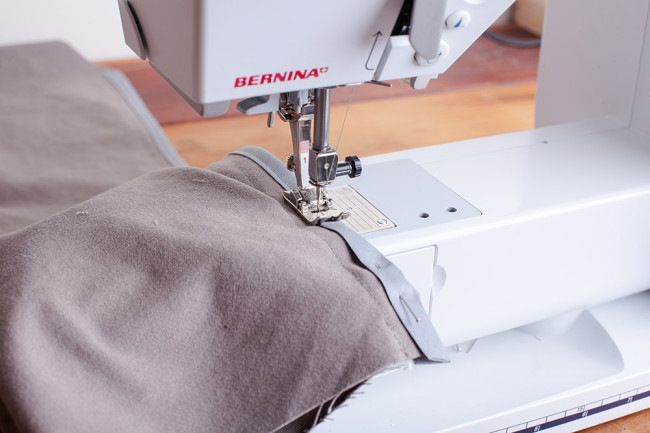
1. With right sides together, baste sleeve tab to upper sleeve (N) between small circles.
2. Repeat for the second sleeve shell.
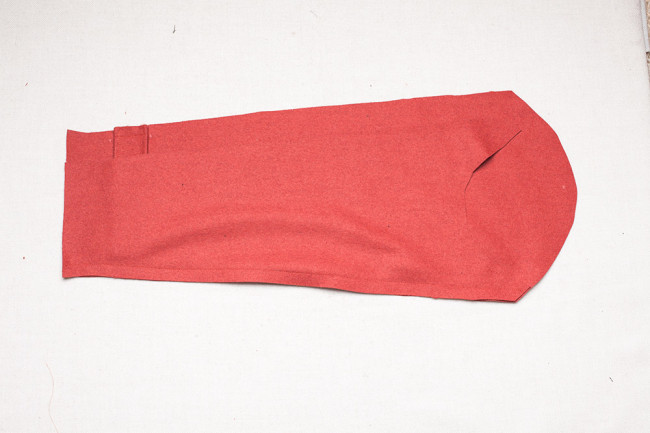
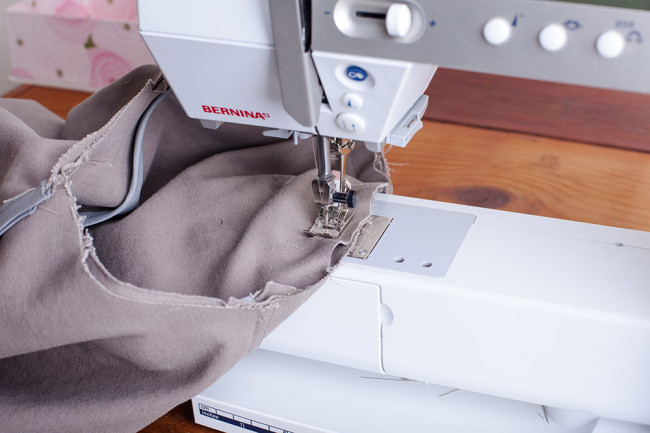
3. With right sides together, align the single notches of upper sleeve (N) to lower sleeve (M). Stitch along the front arm seam.
4. With right sides together, align the double notches of upper sleeve (N) and lower sleeve (M). Stitch along the back arm seam.
5. Press seams open.
Set Sleeve Shells
1. Turn sleeve shell right side out and pin to the right side of the armhole, aligning notches. The large circles on the sleeve shell will align with the shoulder and side seams. The back sleeve seam will align with the back yoke seam; the front sleeve seam will align with the front yoke seam. Baste sleeve into armhole, then stitch into place.

2. Press armhole seam allowance toward the sleeve shell. Repeat for the second sleeve shell.
Version 2
Create Sleeve Tabs

1. With right sides together, stitch one tab (L) piece to another tab (L) piece. Stitch along three sides, pivoting at the corners. Leave one short side open.
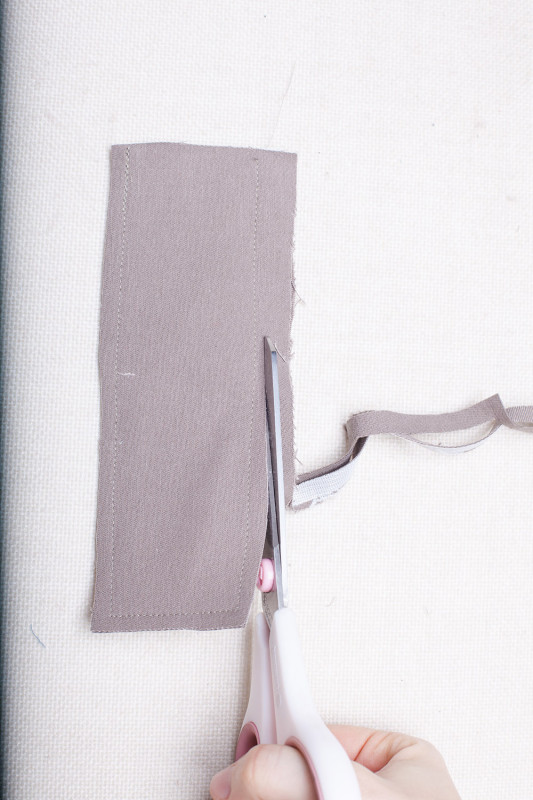
2. Trim the seam allowance to 1/4″ and clip corners.
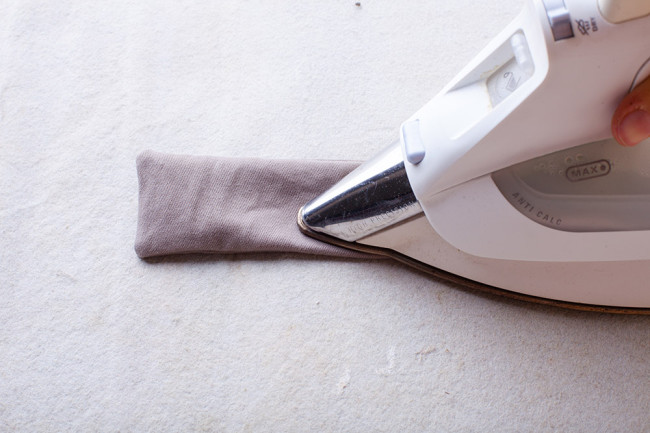
3. Turn the sleeve tab right side out and press.
4. Topstitch 1/4″ from the sewn edges.
5. With right sides together, baste tab to upper sleeve (N) between the small circles. Repeat for the second sleeve tab.
Create Sleeves
1. With right sides together, align the single notches of upper sleeve (N) to lower sleeve (M). Stitch along the front arm seam.
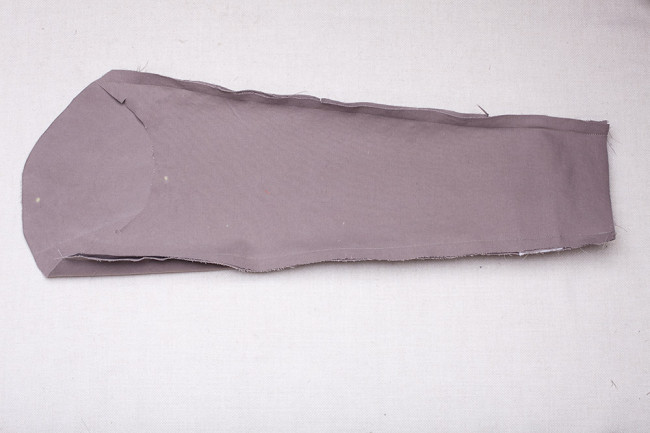
2. With right sides together, align the double notches of upper sleeve (N) and lower sleeve (M). Stitch along the back arm seam.
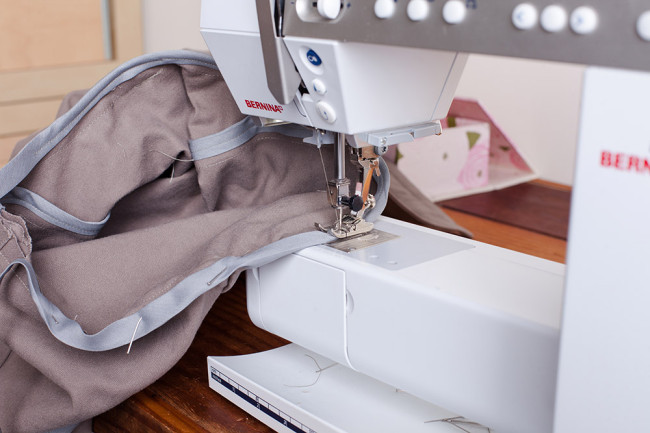
3. Press the seams toward the lower sleeve.
4. Bind the seams to finish.
Set Sleeves
1. Turn sleeve shell right side out and pin to the right side of the armhole, aligning notches. The large circles on the sleeve shell will align with the shoulder and side seams. The back sleeve seam will align with the back yoke seam; the front sleeve seam will align with the front yoke seam. Baste sleeve into armhole, then stitch into place.
2. Press armhole seam allowance toward the sleeve. Bind the seam with bias tape to finish. Repeat for the second sleeve.
Hem Sleeves
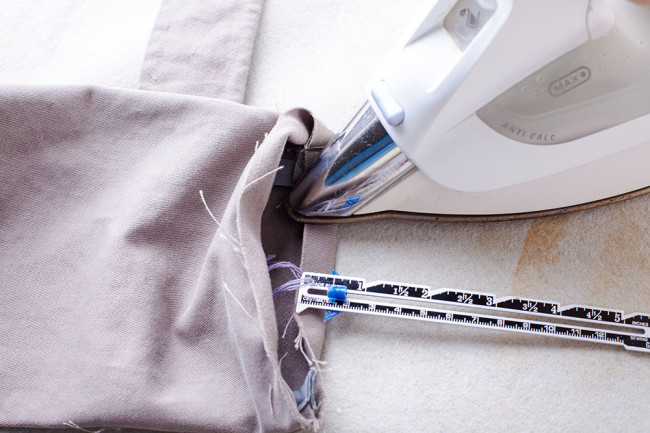
1. Turn the lower edge of the jacket sleeve under 1/2″. Press.
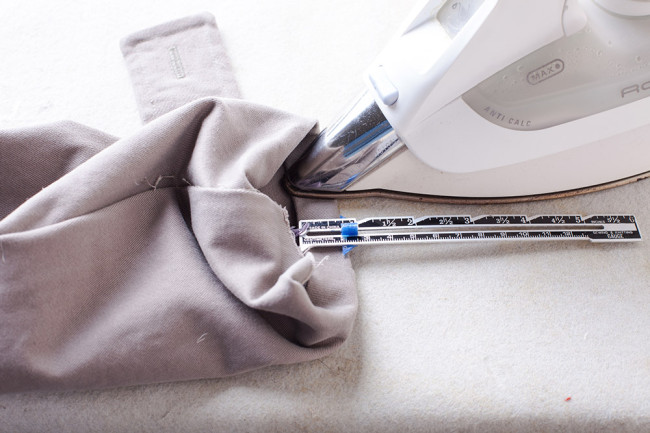
2. Turn the lower edge of the sleeve under 3/4″. Press.

3. Stitch the hem in place. Repeat for second sleeve.
Comments
I have been trying to decipher if you individually bias tape the seams and iron out flat or if you bias tape both together? I am making the unlined jacket. Thanks so much!
We have you bind them together, but either way is acceptable. Binding together saves you some time and bias tape, while binding separately and pressing open gives just slightly less bulk.
I just noticed that i have installed the tabs in the wrong direction – front to back. I did not look at the instructions for this step and just went with the direction that seemed more logical for me. Also i’ve seen duffle coats that have the tab front to back in the internet. Is there a defined direction for sleeve tabs or any reason they should be one way or the other, or is it just aesthetics?
We researched this issue quite a bit in designing the coat, and found that there is no “correct” direction for sleeve tabs, really. They can go both ways!
I am curious about the buttonhole. Would it be easier to do the buttonhole before you attach to the jacket. If so, where would you place it?
thank you! I love the tutorial!
You can do it either way! The pattern has the buttonhole placement marked on it.