

If the price of a single toggle closure at the fabric store makes you wince, give making your own a try. Not only is it cheaper, but you might even wind up saving time by not sewing all of those semi-circles.
Supplies
1 yard of cotton cording
4 toggle buttons
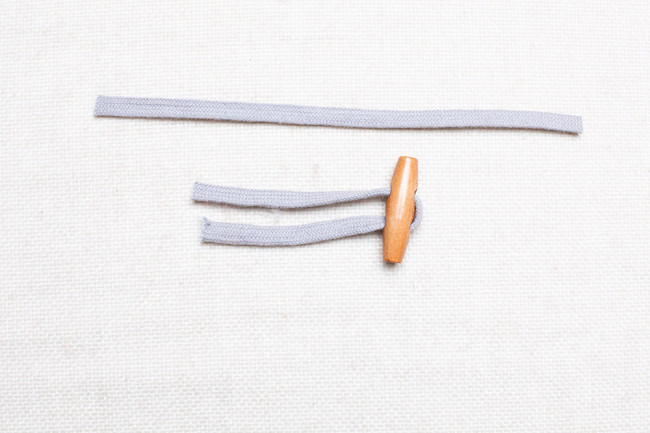
1. Cut eight 7” pieces of cotton cording. Thread a toggle onto the center of four of the pieces of cording.
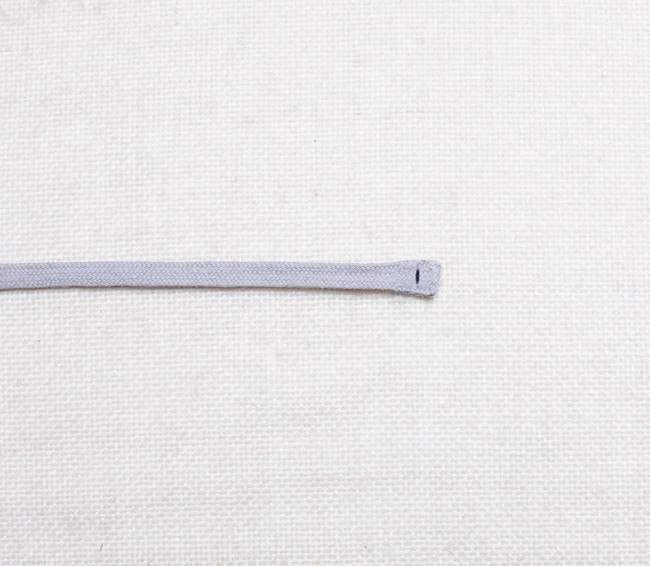
2. Turn each end of each piece of cording under 1/4’. Make sure that the turned under edges are all facing the same direction. Tack each end down using a straight or zigzag stitch.
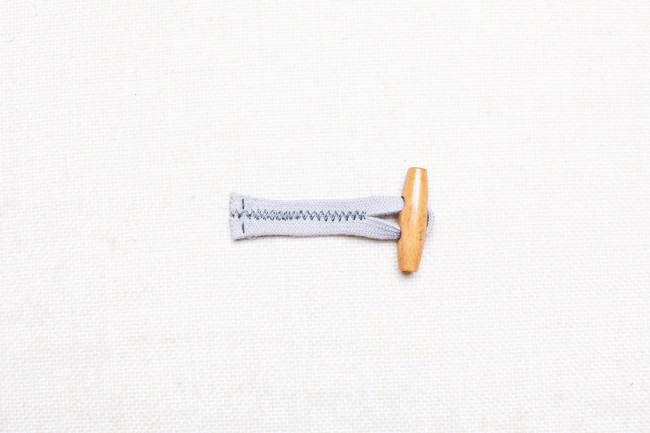
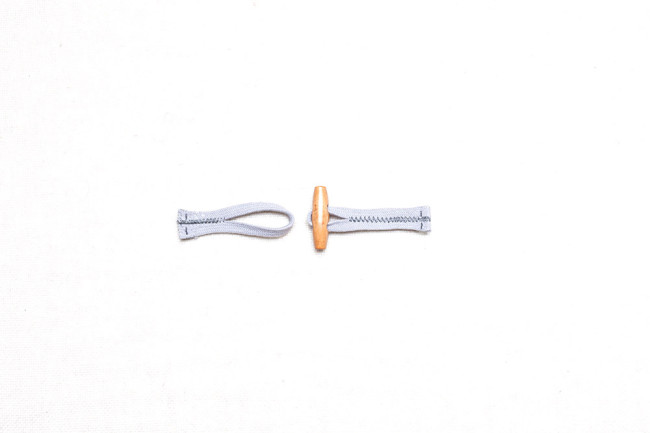
3. Bring the ends the cording with the toggles together and align them so they are even. Use a wide zigzag stitch to sew the two sides together, stopping when the foot of your machine meets the toggle.
If your machine doesn’t have a zigzag function, you can tack the legs together by stitching back and forth a few times at a few points along the cording.
4. Repeat for the toggle loops, but only stitch for 1 1/2”.
Comments
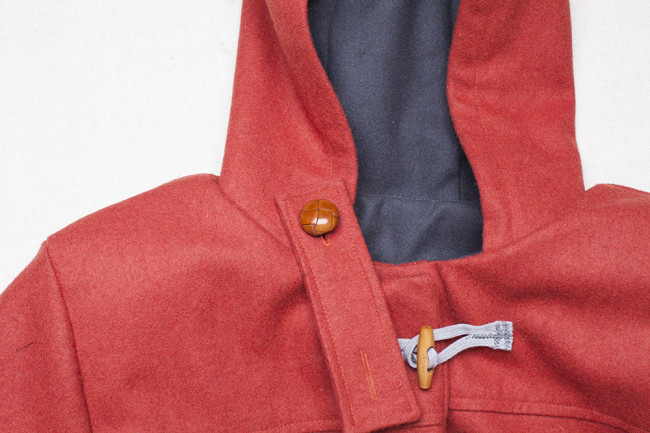
The picture doesn’t show how to attach the toggles to the jacket without a half circle. Could someone describe how to do this?
I’m not sure I understand the question, but as far as i see, these selfmade toggles are attached by a narrow zigzag.
I also did not buy toggles. Instead i bought the buttons, cord and a piece of leather, that i cut up in 8 pieces of my desired shape. Then I securely hand stitched the cord to my coat and covered it with leather pieces that i machine stitched on. That makes it look like propper toggles. Just prettier and cheaper. :) Also on the inside you see only a tidy half circle stitching, that’s why i handstitched the cord just to the outer shell.
Hope it gives some ideas.
These toggles are just stitched on using a zigzag. You could also make the half circle from leather or vinyl and add that. The possibilities are really endless with toggles, there are many ways to do them!